Pages

Thursday, April 26, 2012

Calm Down Jar

Our version of The Calm Down Jar

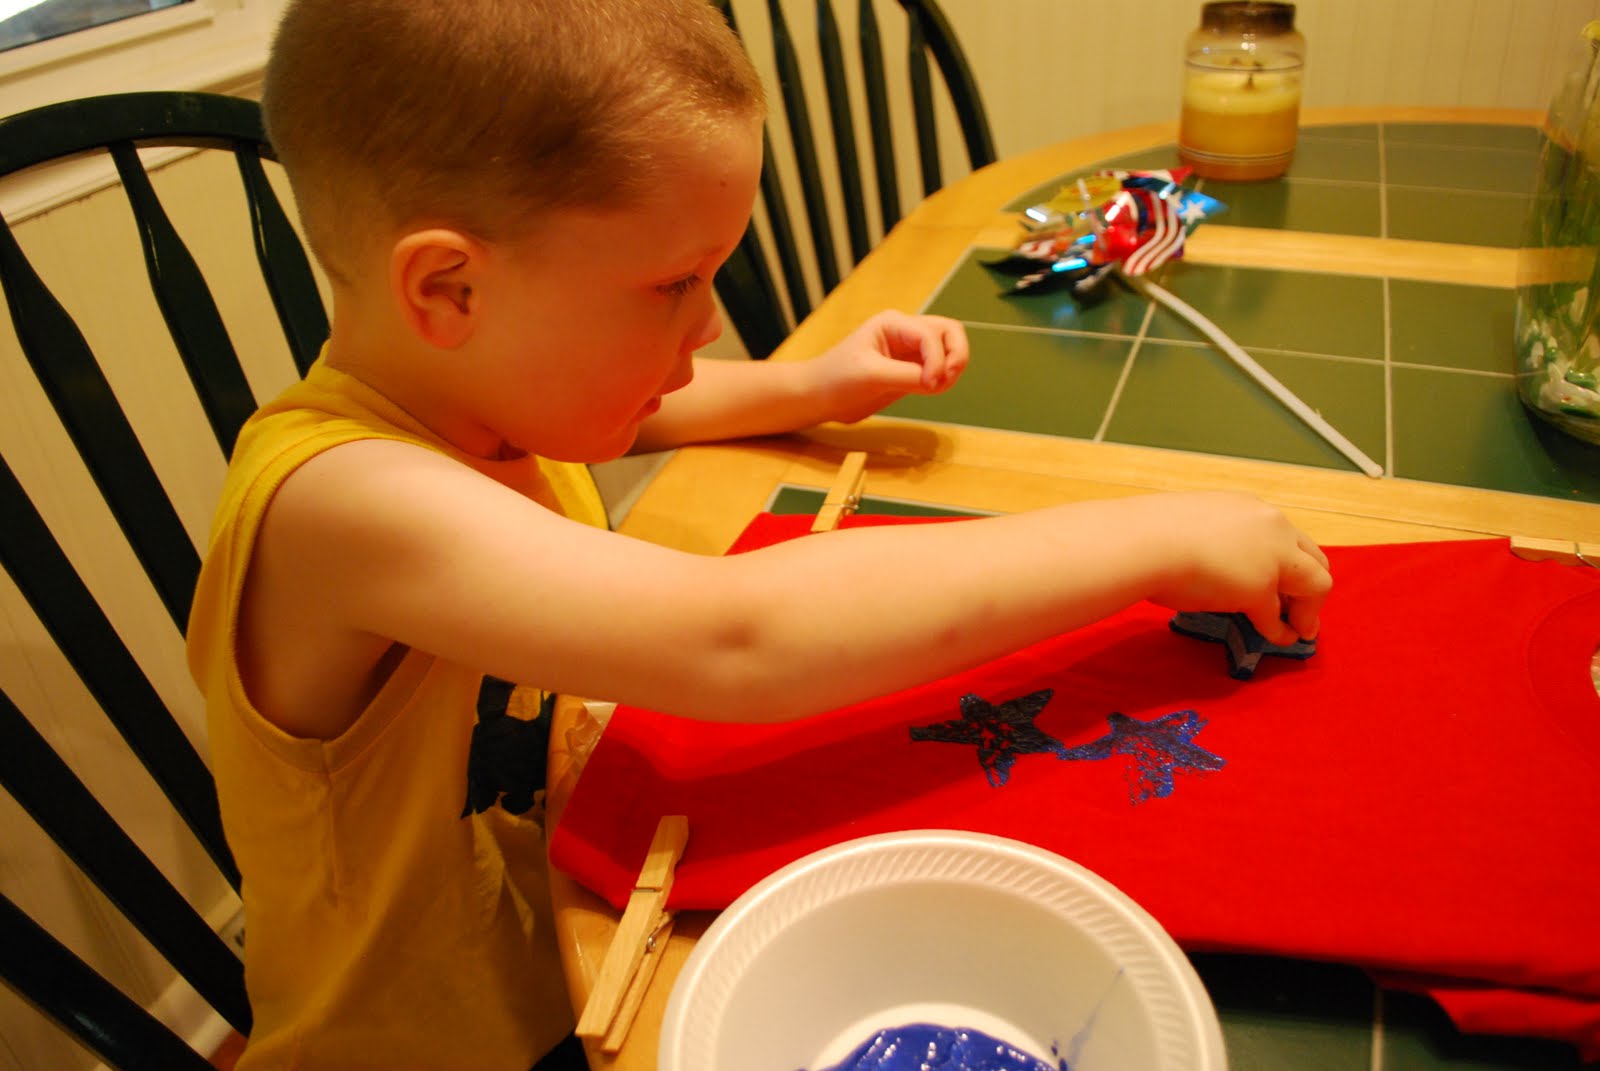
I've been seeing the Time Out Jar a lot online recently and I thought it was a great idea, with one problem: it's fun! Time Outs in our house are a punishment, so why would I give my son something cool to play with while he's in trouble? Kind of defeats the purpose. So I altered it a bit to become known as the Calm Down Jar.

You know how you kid is kind of being a pest, but isn't exactly being bad? Or maybe he is bouncing off the walls and you just need him to chill out for five minutes? (Just imagining here, of course.) You know he doesn't deserve a Time-Out, but oh my gawd just give me two minutes to finish these dishes before you decide it's time for me to build another freaking Lego set!!!! Well, shake this bad boy up and tell them they have to sit still until all the glitter has floated to the bottom. Voila! A calmed down child!


You will need:


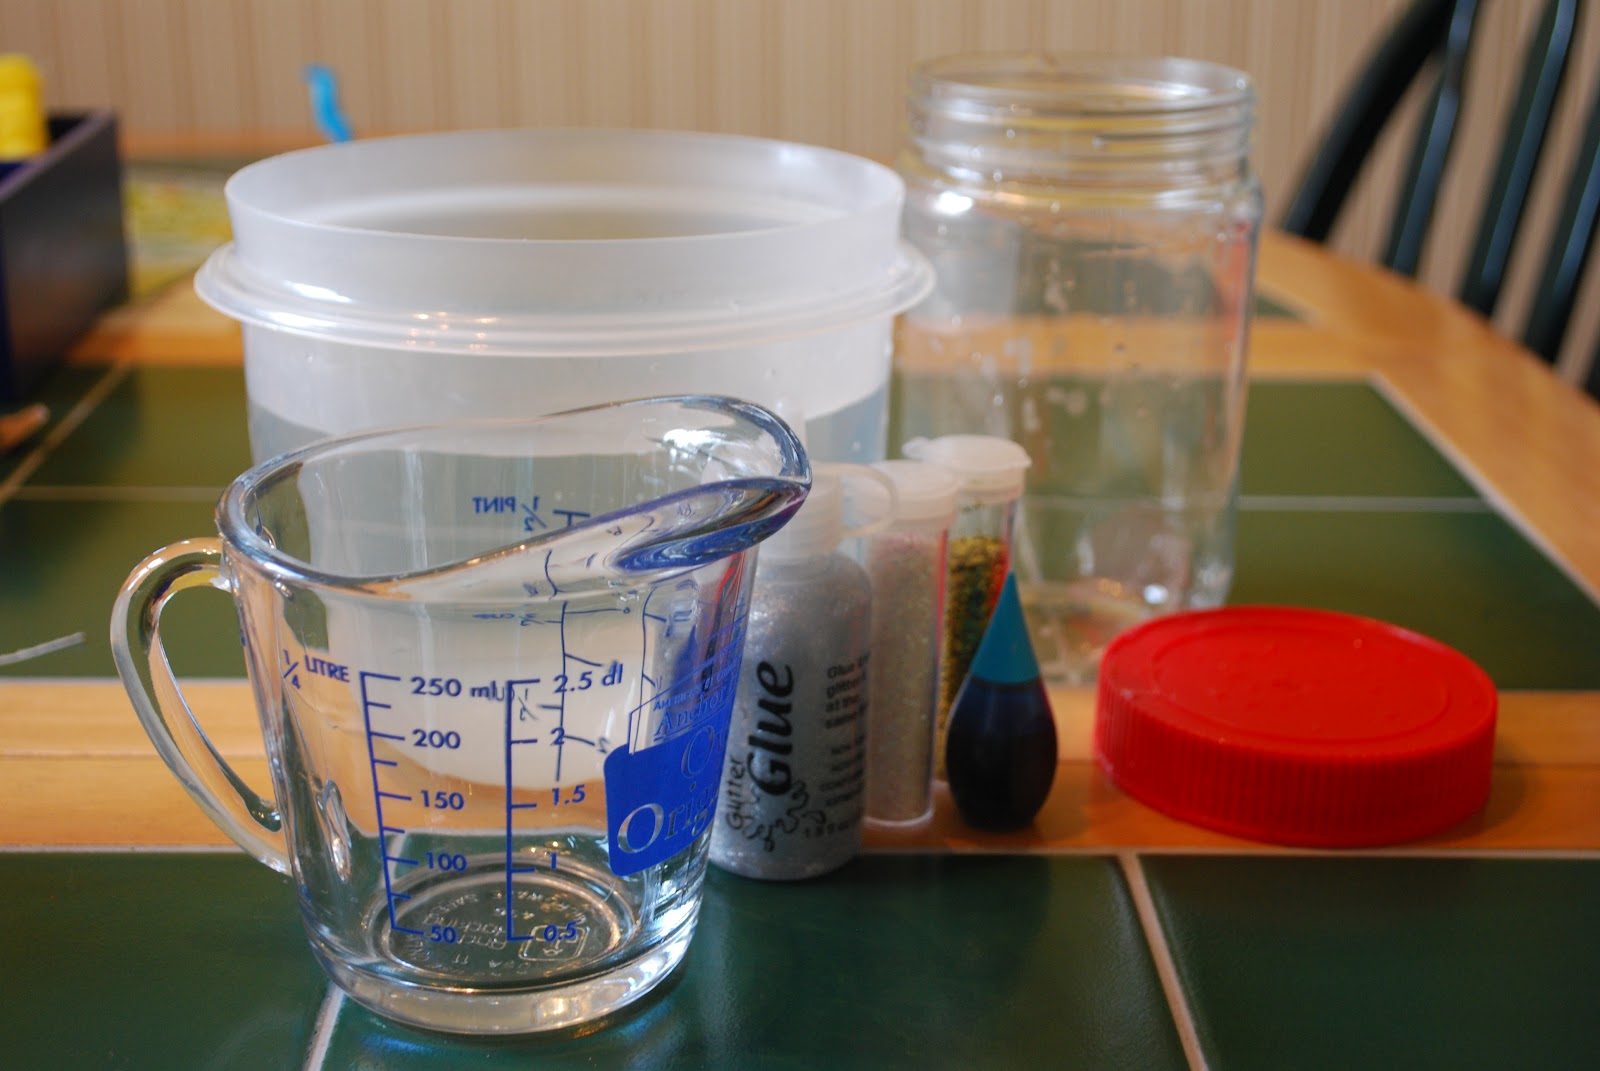
  • A jar with tight fitting lid (We used a plastic peanut butter jar.)
  • Glitter glue
  • Glitter
  • Food color
  • Water

How to:
  1. Fill jar with hot water. (The warmth helps to break up the glue.)
  2. Add glitter glue. (If you choose to make this a time out jar, there is some kind of ratio to make it last a certain amount of time. I think it may be 1 cup water to 1 tablespoon glue equals one minute of glitter floating. We did not follow any measurements and just added as much as we wanted.)
  3. Add some glitter. (Again, we just shook until we stopped.)
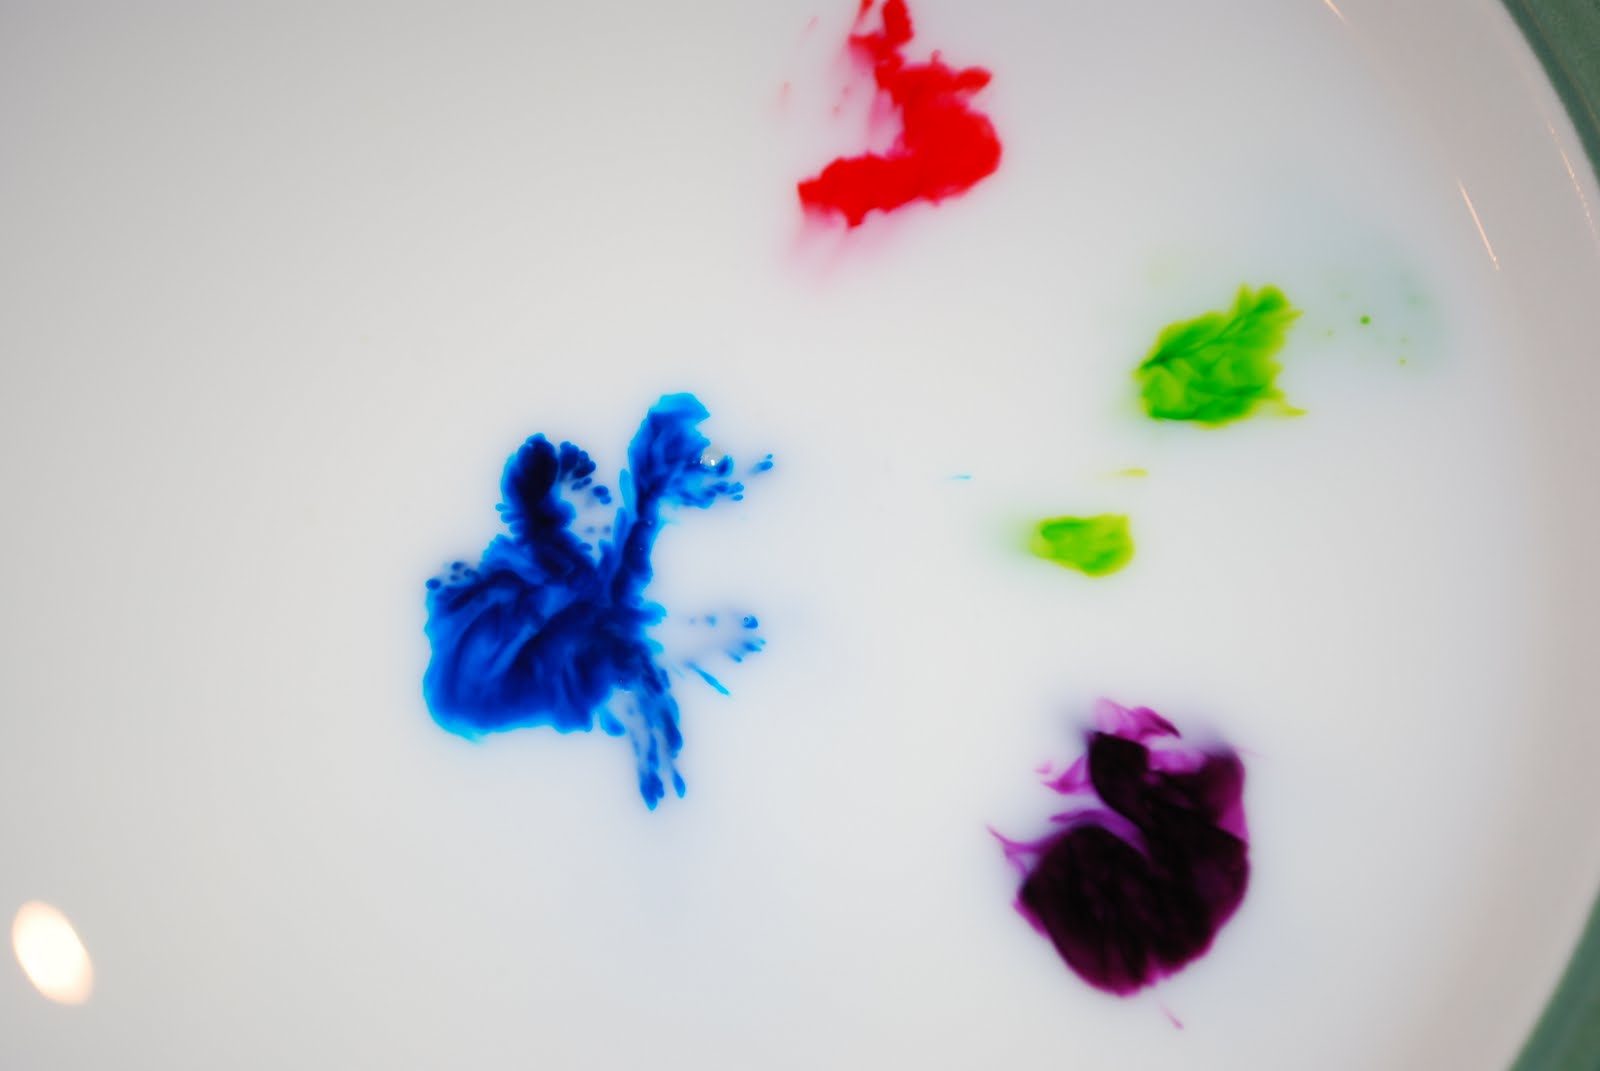
  4. Add food color a drop at a time until you get the color you want.
  5. Place lid on tightly and ensure seal before shaking! (Oops!)
  6. Enjoy!
Thoughts:
OK, I'll admit this isn't as cool as I'd like it to be. I was expecting it to be a bit more "floaty". Maybe we colored the water a bit too dark because the glitter doesn't stand out as much as I'd like it to. But still, as a craft it was fun to make and it really does work. Elliott actually likes when I pull it down (I keep it on top of the fridge so it doesn't lose its appeal too quickly.) and hand it to him. He knows to sit at the table and give the jar a good shake.

Elliott's Evaluation:
 "So, how I made this is I just put blue food coloring in it. Then I put sparkles all in it. Then I put a lid on it. It is good."
Woah! Not sure what's up with the overly excited face there!

Monday, April 2, 2012

Gluey Ghosts

Boo! Try these crazy easy ghost decorations next Halloween.

You will need:
  • White yarn, cut into long strips
  • White glue
  • Googly eyes
  • Black construction paper, cut into ghost mouth shapes
  • Clear fishing wire
  • Waxed paper

How to:
  1. On a sheet of waxed paper, lay yarn into ghosts shapes. They don't have to be the same size.
  2. Fill in the ghost outlines with glue.
  3. Use a popsicle stick (or your finger) to spread the glue, making sure it spreads the entire width of each ghost. Place googly eyes and paper mouths on each ghost.
  4. Let dry overnight. Check on it every couple of hours. The glue may pool in some spots, leaving "holes". Just spread the wet glue back over any holes that form.
  5. Once dry, carefully pull off the waxed paper, string the top of each ghost with fishing wire and hang.
  6. Be scared!
Thoughts:
Elliott really liked this craft. It was easy enough for him to do on his own and he really liked filling each ghost with glue. I hung these banner style on the fireplace mantle and they looked cute, but were constantly flipping over the wrong way. Next time I would hang each one individually. Elliott wanted to keep these, but after about a week, the glue started yellowing.

Elliott's Evaluation:
I don't remember doing this. I think I probably liked it, but I don't remember this.

Sunday, March 11, 2012

Zombies and Glitter

Where have we been?

Some of you may have noticed that Elliott and I have been missing in action for quite a while.

I decided to go back to work full time. For the first time in my life I have become a Nine to Fiver and Elliott has enrolled in day care. We’ve settled into a different kind of life than the one we had before. There’s a lot of this:


And this:


And this:


That’s right; I became the Mother I never wanted to be: Video Game Mom! Able to clean the entire house uninterrupted while her child’s brains get sucked out by small handheld devices! Adept at handing off the Kindle Fire while cooking dinner each night. Perfectly capable of falling, exhausted, on the couch and defeating some zombie boot-ay with my son as our wind down activity each night. Each. And. Every. Night.

But then, lo and behold, something happened to remind me of the fun we used to have crafting: Dr. Dreadful’s Zombie Lab.


That’s right, Zombie Lab. Nothing like zombies to remind you of glitter and googly eyes. Anyone who knows me knows of my love of all things zombie. So when we spotted this product a couple of months before Christmas last year, and Elliott requested it as a gift…well, right on Brother.

The zombie Lab has several different “activities” or science experiments that you can make and eat. Ear Wax Snacks, Bubbling Brains, Bug Molds, Zombie Skin and the foulest of the foul: Zombie Barf, a questionable “drink” that mirrors what comes out of your nose when you are the absolute sickest that you have ever been in your life.


Drink up! (Or not!)

Most of the experiments, while edible, were pretty gross. I still shudder thinking of trying to take a sip of that snot-like concoction. But, the whole point was that we had fun. So much fun that we ended up trying every experiment in one sitting. Clean up was easy, so that stress was taken away.

When we were finished, El and I were killing some zombies on the Kindle Fire (of course), talking about how silly and gross the lab was and Elliott said, “I wish we could do crafts together again.”

And so we shall. Stay tuned for some new crafts coming soon!

Sunday, July 31, 2011

4th of July Tee

You will need:
  • A red, white or blue t-shirt
  • Red, white and blue fabric paint
  • Different size sponges, cut into star shapes
  • Cardboard, wrapped in plastic bag
How to:
  1. Insert plastic wrapped cardboard into shirt. (This will prevent the fabric paint from seeping through the shirt.)
  2. Dip sponges into fabric paint and "stamp" on to t-shirt.
  3. Let dry.
Thoughts:
Easy, peasy! And really cute.

Elliott's Evaluation:
I liked everything! I liked dabbing the stars on. That's my comment.


Friday, June 24, 2011

Kitchen Fireworks


Turn everyday kitchen items into a dazzling display!

You will need:
  • Liquid dish soap
  • Milk
  • Food coloring
  • Small saucer
  • Q-tips
How to:
  1. Pour milk into saucer.
  2. Pour one drop of each food color into milk. Don't stir!
  3. Place one drop of dish soap on to the end of a Q-tip. Place Q-tip into milk and watch the show!


Thoughts:
I'm back to being a full-time working mom and finding time for crafts has been hard. I found this science project online and thought it would be a great way to kill a few minutes between dinner and bedtime. What fun! Elliott was totally enraptured by this experiment and I have to admit I was too.

Telling a 4 year old NOT to stir up four shades of food color is like telling me to NOT check out a book at the library: it doesn't happen. Once stirred, the colors turn very dark and it's harder to see the results. Elliott didn't care! He loved every second of this. We did it a couple of times and you will too, so keep extra supplies handy.

Elliott's Evaluation:
It is very cool and funny. Wow! It's so funny! It was so pretty. Super pretty. What will happen when we put one more drop of color in? Oooh, that's super pretty. Let's stir it up. Ooh! That's pretty, too! Can we do this again tomorrow? Whoa!! Look at how dark it is when all the colors are mixed up. I love this so much!

Friday, June 17, 2011

Snow Globe


You will need:
  • Small jar with tight fitting lid
  • Small action figure
  • Star shaped confetti
  • Glitter
  • Distilled water
  • Clear, liquid dish soap
  • Bottle caps
  • Hot glue/gun
  • Plumber's tape (optional)
How to:
  1. Most likely, your action figure will need to be raised slightly in order to be seen in the jar. Hot glue one or two bottle caps (check to see which shows the action figure better) to the inside of the lid.
  2. Hot glue the action figure to the cap(s).
  3. Fill the jar almost full with distilled water. Add a squirt of dish soap.
  4. Add a handful of confetti and lots and lots of glitter!
  5. If you have plumber's tape, wrap it around the grooves of the jar. Carefully place lid on to jar and tighten. Flip over, get wet.
Thoughts:
Oh, my, so craptastic. Where to begin with this one? Originally I saw this idea in the Star Wars Craft Book by the amazingly cool Bonnie Burton and it suggested using baby food jars. I, however could not find action figures small enough to fit inside baby food jars so I bought the next smallest size I could find at the Dollar Store. (You get what you pay for sometimes!)

I bought the smallest action figures I could find, the little short, squatty ones that are really popular right now and they fit great, except for the characters holding guns, which scraped against the sides of the jar as we were screwing the lids back on, which in turn would pop the figures right off the bottle caps. Oh, and let's mention that the slightest little jostle (or prying finger) would also pop a bottle cap off. I had the glue gun ready to go at the party!

I had the Younglings sit in a semi circle in front of me and we made the snow globes assembly line style. (I had glued the action figures to the jar lids beforehand to save some time and prevent curious hands from grabbing the glue gun!) I have to say, the kids loved putting these together. You could've heard a cricket chirp while they made them. Everyone got to choose the action figure they wanted and add as much glitter and confetti as they wished.

Now let's flip them over and watch!
Uhhh, is yours leaking?
Maybe that lid isn't on tight enough.
Oh, wait. Mine is leaking too.
Oh for Pete's sake.
Craft...fail.
Hey everyone, when you get home open up your snow globe and you have a new action figure! Yay!

I did later try the plumber's tape on Elliott's jar, but it still leaked. I thought about trying to hot glue the lid to the jar, but I figured El would eventually want the action figure out of it and knowing my luck, that would've been the one seal that actually worked and we'd never be able to get it back open. So, we gave up on it and have a new action figure.

Still, like I said, the kids really enjoyed this. Figure out what you can do to improve on it and go for it.

Youngling Padawans show me what they think of the leaky snow globes!

Elliott's Evaluation:
Mom, you weren't supposed to do any of it without me! (He's talking about the fact that I glued the bottle caps and action figures on to the lids before the party.) I really liked putting all that glitter in there. This was fun, very fun.

Saturday, June 11, 2011

Jedi Light Sabers

Make homemade Jedi Light Sabers
You will need:
  • A long tube of some kind. I was planning on using the tube from wrapping paper, but scored baseball bat Wii controllers at the Dollar Store for 2 for $1!
  • Paint
  • Glitter
  • Black and silver duct tape
  • Paint brush
How to:
  1. Paint 3/4 of your tube in the color of your choice.
  2. While paint is still wet sprinkle with glitter, the more the better!
  3. Once paint is dry, wrap the bottom four inches or so in silver duct tape.
  4. Wrap remaining space between silver and painted area with black duct tape.
  5. Fight the Empire!
Thoughts:
All hail the Dollar Store! I spotted these Wii Baseball bat remote holders at a steal for 2 for $1! And an even better deal: the remote holder actually snaps off from the "bat" portion, making assembly even easier for us. However, if you can't find these yourself, the inner tube from a roll of wrapping paper would work just fine. (And would be a little more gentle.)

These were so easy to make. During battle, uh, I mean, playtime the paint chipped off from the light sabers, but no one seemed to care. This became one of the favors for Elliott's birthday party, as well as the weapon of choice for destroying the Death Star pinata. (See previous post.)

Elliott's Evaluation:
Fun! Painting it was fun. I like that they have glitter all over them. I liked putting the glitter on.