Pages

Friday, December 31, 2010

Christmas Rice Wreaths


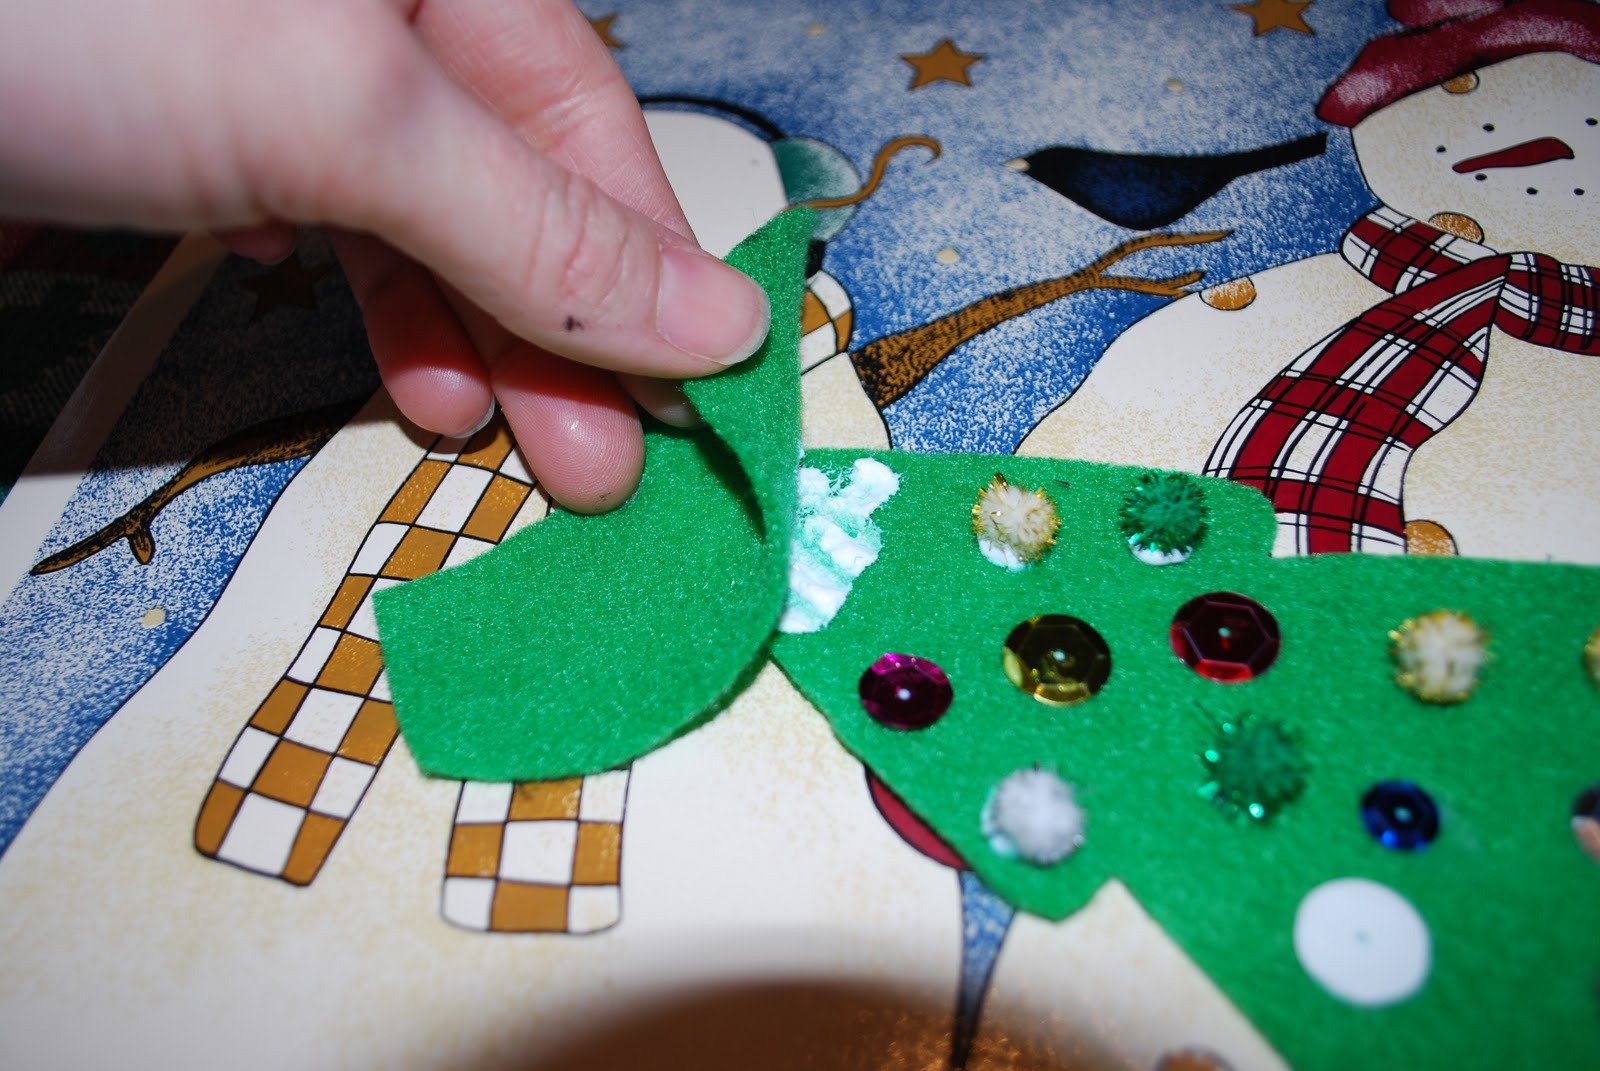
Our 2010 homemade Christmas ornament
 You will need:
(These measurements will make three 4-inch wreaths.)
  • One cup uncooked, white rice
  • 1/2 cup white glue
  • Green food coloring
  • Three bobby pins, bent open to slightly less than a 90 degree angle
  • Butter tub lids (one for each wreath)
  • Red construction paper
  • Hole punch
  • Red yarn
How to:
  1. Pour glue into a plastic bowl. Add food coloring to desired color. (We used about 7 drops each batch.) Stir well.
  2. Pour in rice and stir until all rice is coated.
  3. Elliott uses his finger to start the wreath's middle.
  4. Scoop heaping spoonfuls of rice mixture onto each butter tub lid. Mold into wreath shapes.
  5. Insert bobby pin into top of each wreath. This will be the "hook" for the ornament. Let dry overnight.
  6. Drying wreaths.
  7. Using hole punch, punch several holes from red paper to make "berries" for wreath. Attach to wreath with glue.
  8. Make yarn bows for each wreath. Attach with glue.
Thoughts:
These wreaths are really easy to make and come out so cute. They are surprisingly sturdy once dry.

Elliott's Evaluation:
Putting the red paper on was boring, but I liked making the wreaths a lot. I liked stirring the rice and adding the food color.

Friday, December 17, 2010

Celebration Christmas Tie

Go ahead and tie one on this Christmas!


We got the inspiration for this craft from www.Disneyfamily.com as a promo for their new(ish) Christmas movie Prep and Landing. Wayne the elf wears it to celebrate his (he thinks) imminent promotion. The Disney website has a template for the Christmas tree that you can print off for those of you who are artistically challenged. (They also have side bar ads for Busty Russians who want to meet me, which I thought was highly inappropriate for a "Family" website, but let's not go there...)

What you need:
  • One sheet of green felt
  • Fabric glue
  • Embellishments (we used pom-poms and sequins)
  • Safety pin
How to:
  1. Cut tree shape out of green felt, about one foot long.
  2. Cut additional shape for "necktie" portion of tie. (Again, I suggest the template on Disney's website, but, basically it's a very thick U-shape about 1 and 1/2" in height by 4" in width.)
  3. Glue portion of felt over top part of tree, fold the ends over and glue ends down. (For those of you following my pictures, this is not the order I did it in. But you should. It will be easier to do it now so you can press down as much as you need without worrying about the embellishments on your tie.)
  4. 
    Backside of tie showing only one end glued down.
    
    Both ends glued down.
  5. Decorate tie with any embellishments you want. We used pom-poms and sequins, but you could use glitter glue, beads, ribbon, etc.
  6. Let dry and pin on.
  7. Look cool!
Thoughts:
This was so cute and very fun to make. Fabric glue and felt are not the best of friends and after trying to attach the necktie portion to the tree portion I wasn't on friendly terms with either of them. But, eventually they do dry and hold together quite well. Be generous with the glue if attaching pom-poms. Most seemed like they were hanging on by a thread. A couple of the sequins popped off after one wear, but it's an easy fix.

Elliott's Evaluation:
I wore my Christmas tie to school and my teacher's loved it. I really liked making it and I put some of my favorite colors and some of Mommy's favorite colors on it.