Pages

Monday, September 27, 2010

Monster Face


A Monster Face Marble Game

You will need:
  • Cereal Box
  • Paint
  • Yarn
  • Scraps of paper (for nose, freckles, etc.)
  • Glue
  • Large Googly eyes
  • Marbles or small balls
  • White paper
How to:
  1. Cut the top out of a cereal box. (Save to later make ears.)
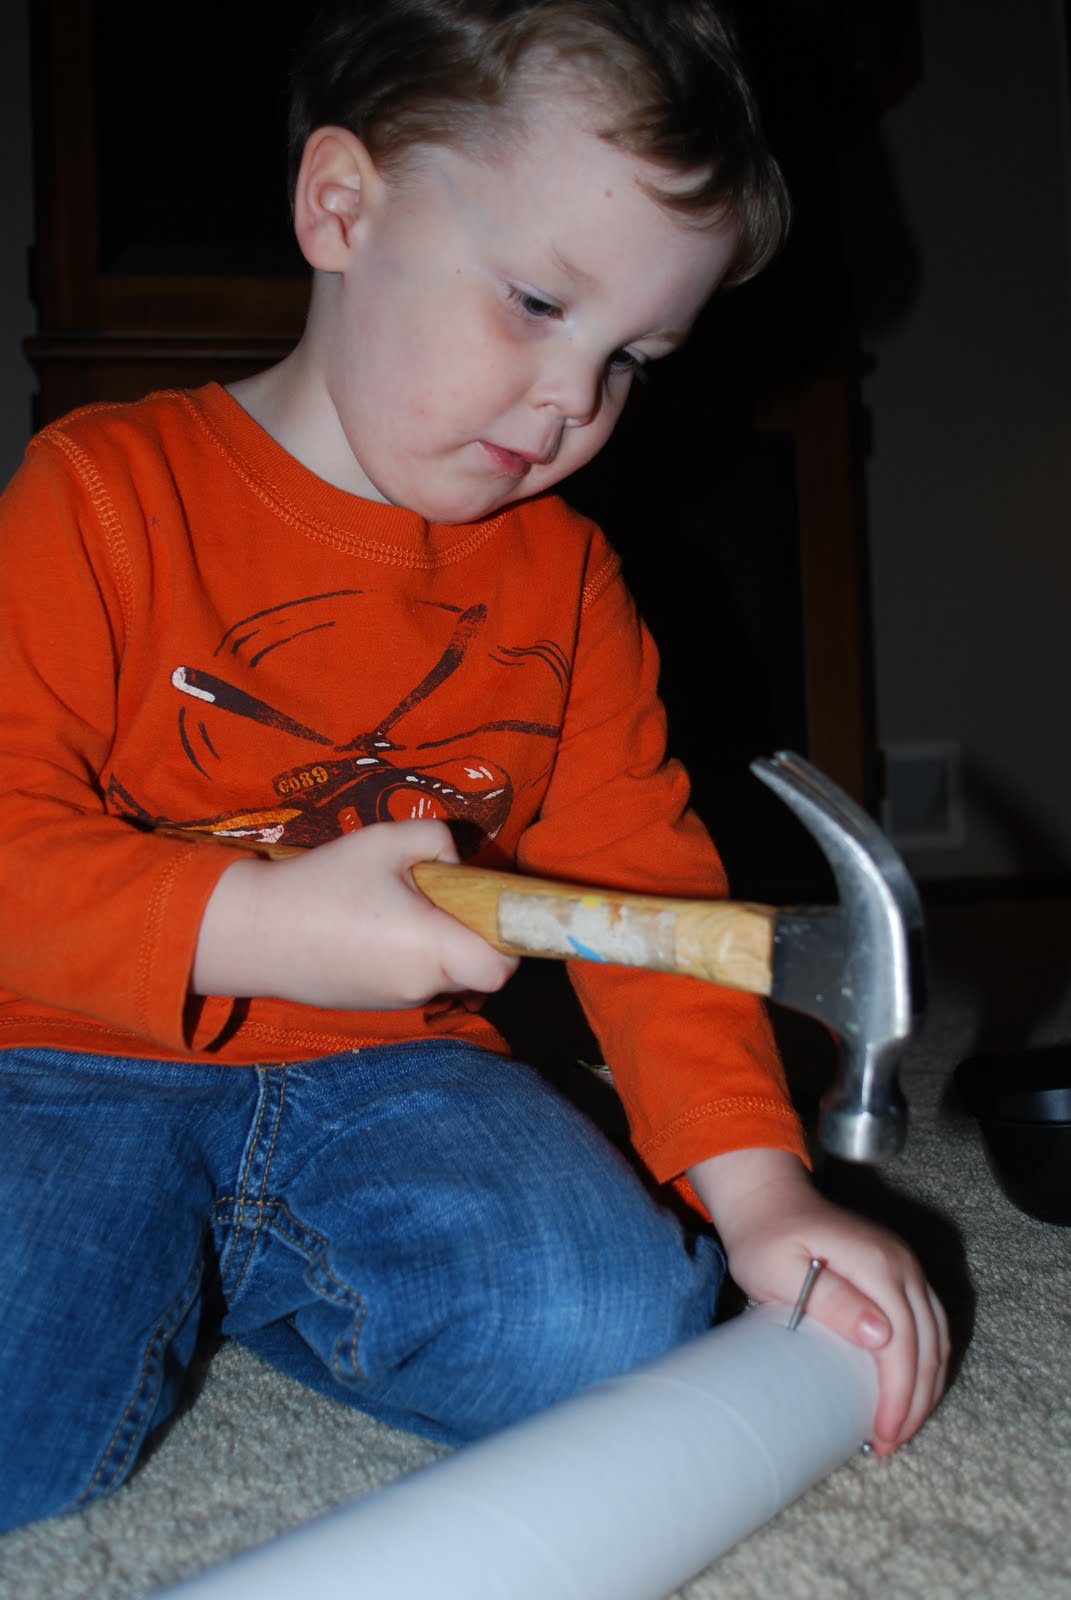
  2. Cut three inch slits in the box and fold up (or cut out) every other flap. These will be the slots for your marbles.
  3. Paint entire box.
  4. Paint.
  5. Paint.
  6. Paint.
  7. Paint some more.
  8. 
    Painting the first of six layers!
    
  9. Once dry, add eyes, ears, hair, etc.
  10. Cut strips of white paper to cover flaps to make teeth.
  11. Write different point values for each flap and take turns flicking marbles at face to try to get them in holes. Person with the most points gets, well, nothing.

For hair and eyebrows:
For hair: Cut pieces of yarn in various lengths. Tie a small piece of yarn in center to hold.
For eyebrows: Wrap yarn around a small piece of cardboard about 1 inch thick. Slip off cardboard, tie in the middle with a small piece of yarn, and cut ends.


 Thoughts:
Who knew exactly how many layers of paint it would take to cover our cereal box? (I think six, before the name of the cereal was no longer visible.) Our monster started out blue, but once we ran out of blue we had to start adding any other color we had. He ended up a really cool, scary shade of dark green.


Elliott's Evaluation:
I looooved painting my monster face. I like to roll marbles at it. But, you don't get any points if it doesn't go in a hole.


Tuesday, September 14, 2010

Rainmaker

Make a noisy rainmaker! Because you need more noise in your life.


You will need:
  • 1 and 1/2 to 2 inch wide mailing tube, with stoppers
  • Nails that match the width of your mailing tube (we used 32)
  • Duct tape or contact paper
  • Dried seeds, beans or rice (about 1 cup)
  • Yarn and feathers (optional)


<><>
<>
<><>
<>
Good idea.


How to:
  1. Hammer nails in random spots all over mailing tube.
  2. Place stopper at one end of tube.
  3. Fill tube with dried beans.
  4. Place another stopper at other end of tube.
  5. Wrap entire tube with duct tape or contact paper. (This covers up the nail heads.)
  6. Decorate one end with yarn and feathers.

Thoughts:
More tool madness! Nothing says craptastic quite like handing a three year a hammer while you try to hold a nail in place. This was a very simple project and a lot of fun. I tried to incorporate some learning in this one and had different types of dried beans and seeds set out in different bowls so we could hear the different sounds each one made. Our verdict: although I thought rice made the prettiest sound, it fell through the tube entirely too fast for Elliott's taste. He decided a mixture of all the beans, popcorn and rice sounded the most pleasing.

I braided three pieces of yarn and tied a feather to each string and tied it around the top of the stick. It's an optional step, but added that Applebee's flair to the rainmaker.

Elliott's Evaluation:
You can tilt it and tilt it and tilt it and it will rain. You can see the beans in it when you pour them in. I love my mommy.