Pages

Showing posts with label duct tape. Show all posts

Saturday, June 11, 2011

Jedi Light Sabers

Make homemade Jedi Light Sabers
You will need:
  • A long tube of some kind. I was planning on using the tube from wrapping paper, but scored baseball bat Wii controllers at the Dollar Store for 2 for $1!
  • Paint
  • Glitter
  • Black and silver duct tape
  • Paint brush
How to:
  1. Paint 3/4 of your tube in the color of your choice.
  2. While paint is still wet sprinkle with glitter, the more the better!
  3. Once paint is dry, wrap the bottom four inches or so in silver duct tape.
  4. Wrap remaining space between silver and painted area with black duct tape.
  5. Fight the Empire!
Thoughts:
All hail the Dollar Store! I spotted these Wii Baseball bat remote holders at a steal for 2 for $1! And an even better deal: the remote holder actually snaps off from the "bat" portion, making assembly even easier for us. However, if you can't find these yourself, the inner tube from a roll of wrapping paper would work just fine. (And would be a little more gentle.)

These were so easy to make. During battle, uh, I mean, playtime the paint chipped off from the light sabers, but no one seemed to care. This became one of the favors for Elliott's birthday party, as well as the weapon of choice for destroying the Death Star pinata. (See previous post.)

Elliott's Evaluation:
Fun! Painting it was fun. I like that they have glitter all over them. I liked putting the glitter on.

Monday, March 7, 2011

Fireworks Hat


Homemade hats for the 4th of July
You will need:
  • Red, white and blue rolls of duct tape
  • Flexible straws (about 35 per hat)
  • Pipe cleaners (red, white and blue)
  • Star garland, cut into 6 inch lengths (We found ours at the Dollar store)
  • Tape measure

How to:
  1. Measure the circumference of child's head. Cut a piece of blue duct tape to this length plus 2 inches. Lay tape sticky side up. Place straws on tape, placing so that flexible part of straw is at top edge of tape. Make sure to leave four inches of blank tape on each end.
  2. 
    Lining up the second piece of tape. (A bit too hard for youngsters to do on their own)
    
  3. Cut a second piece of blue tape, the same length as the first, and place it sticky side down to form a "sandwich" for the straws. Try to make sure there are no exposed bits of tape. (It's tough on hair!)
  4. 
    Layer pieces for tri-color headband.
    
  5. Cut a piece of red duct tape the same length as blue and fold it over the bottom edge of the blue piece. Repeat with white duct tape to create a tri-colored headband.
  6. Fit headband to child's head and tape together to form a circle. (Be sure not to make it too tight! It should easily fit over child's head, but not be so loose that it falls in their eyes.)
  7. 
    Fancy pieces lure the boys back over.
    
  8. Slide curled pipe cleaners and garland into the straws. Fan out straws if desired.
  9. Wow your neighbors with your fancy new hat!
Thoughts:
OK, can I say how flippin' cool this hat looks? I wanted one for myself! Lining up the tape was an adult's job, which was good because neither Elliott or Jack had any desire to help us out. In fact, they both abandoned us to go play with toys after a couple of minutes.

And we've lost them.
The crazy garland and curly pipe cleaners lured them back and they both enjoyed putting the pieces into the straws.

The finished products were so cute! However, an exposed piece of tape pulled Jack's hair. That, and the fact that his was just a tad too tight made him leery of putting it back on. Elliott decided monkey see, monkey do and even though his fit fine, announced his was too tight as well. I was able to get him to wear it to a couple of 4th of July picnics later in the week.


Elliott's Evaluation:
I remember making them. But, Jack didn't like it. His hat was too tight. Mine was a little tight, too.

Tuesday, September 14, 2010

Rainmaker

Make a noisy rainmaker! Because you need more noise in your life.


You will need:
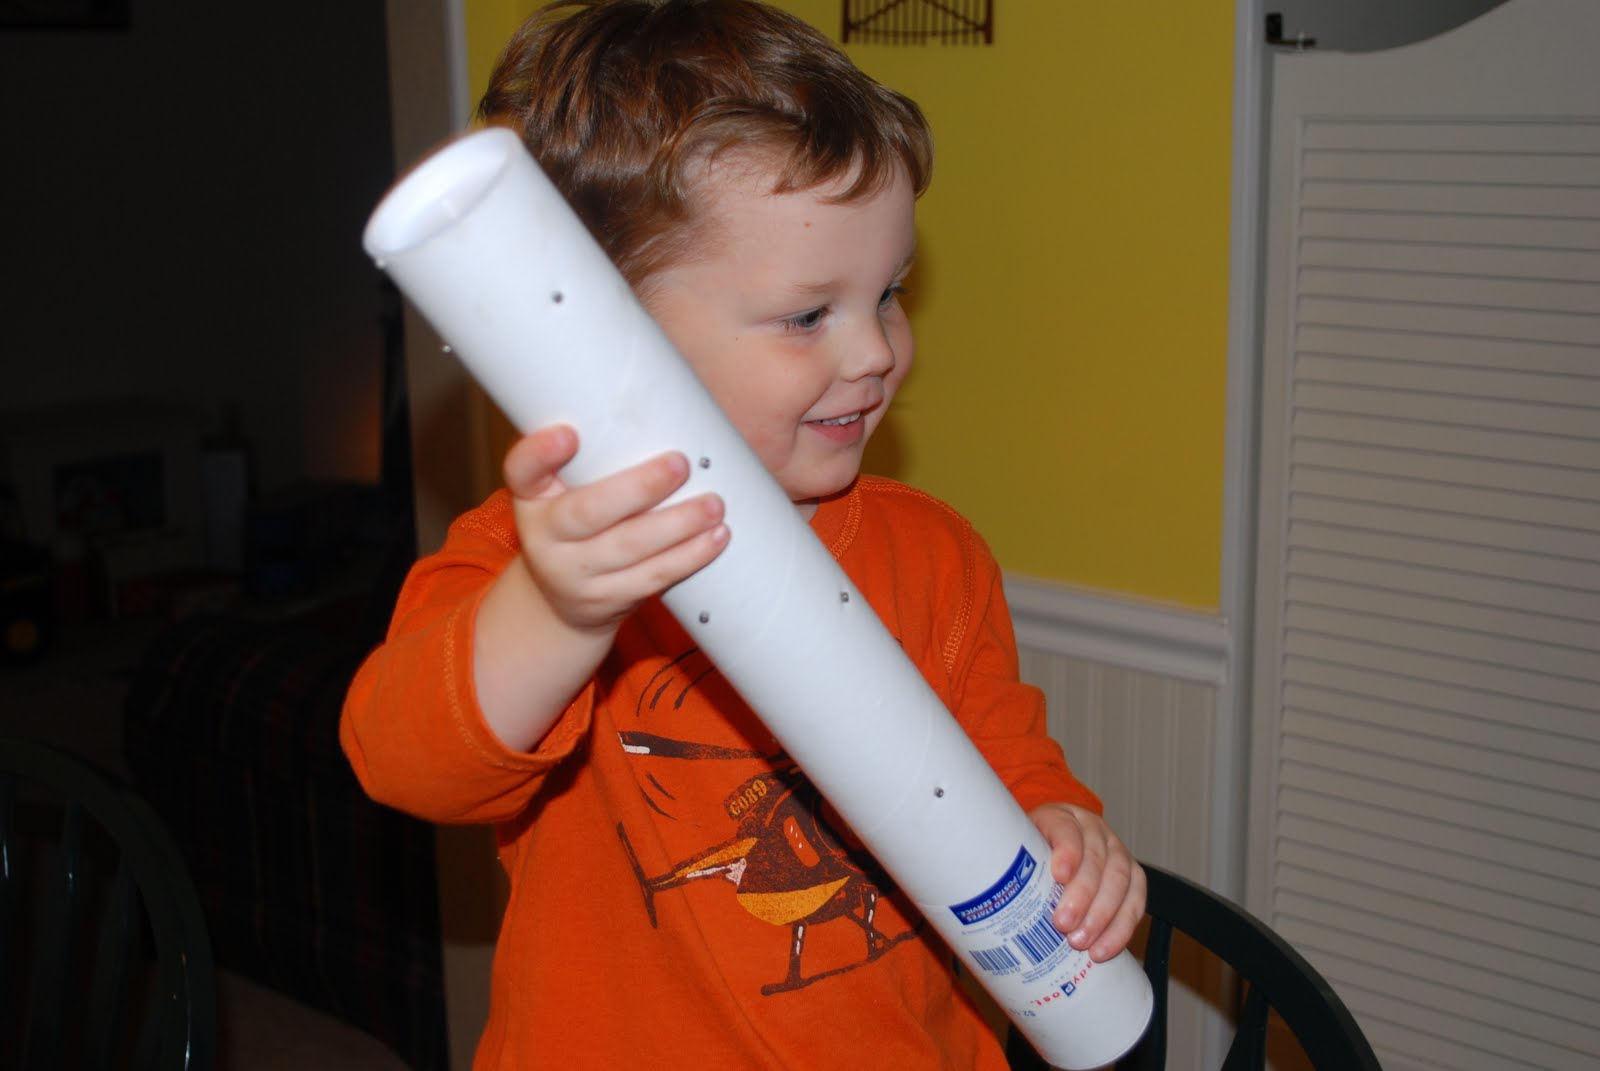
  • 1 and 1/2 to 2 inch wide mailing tube, with stoppers
  • Nails that match the width of your mailing tube (we used 32)
  • Duct tape or contact paper
  • Dried seeds, beans or rice (about 1 cup)
  • Yarn and feathers (optional)


<><>
<>
<><>
<>
Good idea.


How to:
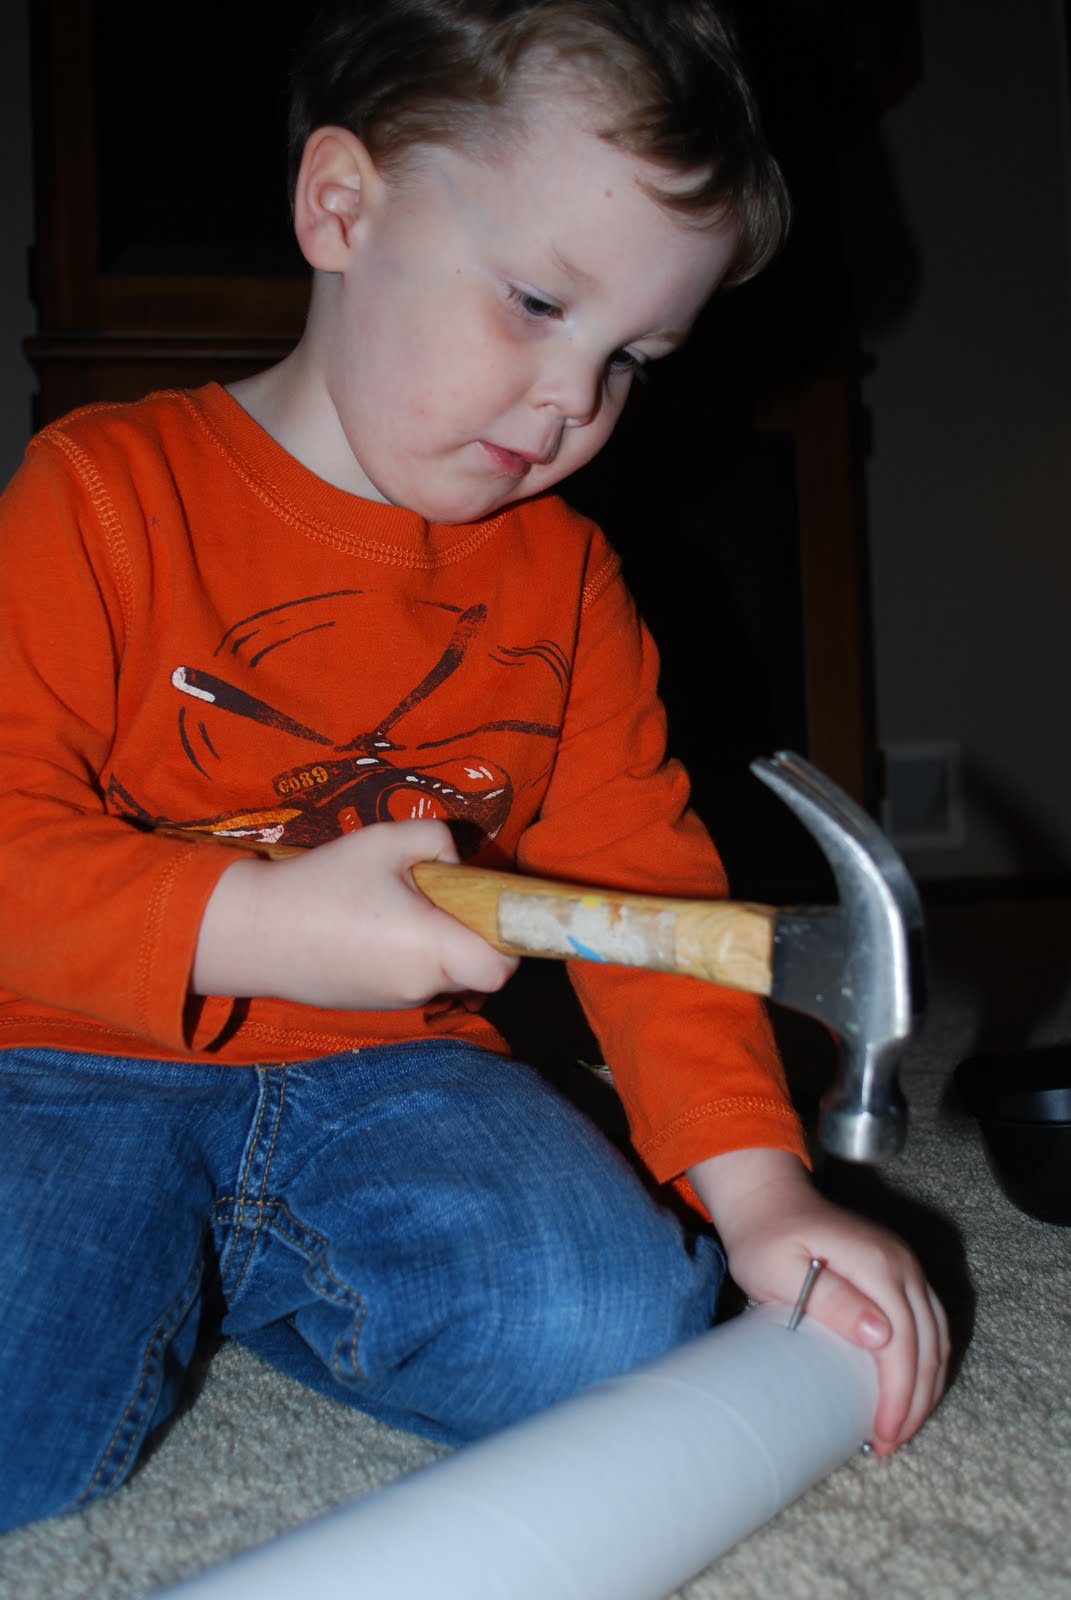
  1. Hammer nails in random spots all over mailing tube.
  2. Place stopper at one end of tube.
  3. Fill tube with dried beans.
  4. Place another stopper at other end of tube.
  5. Wrap entire tube with duct tape or contact paper. (This covers up the nail heads.)
  6. Decorate one end with yarn and feathers.

Thoughts:
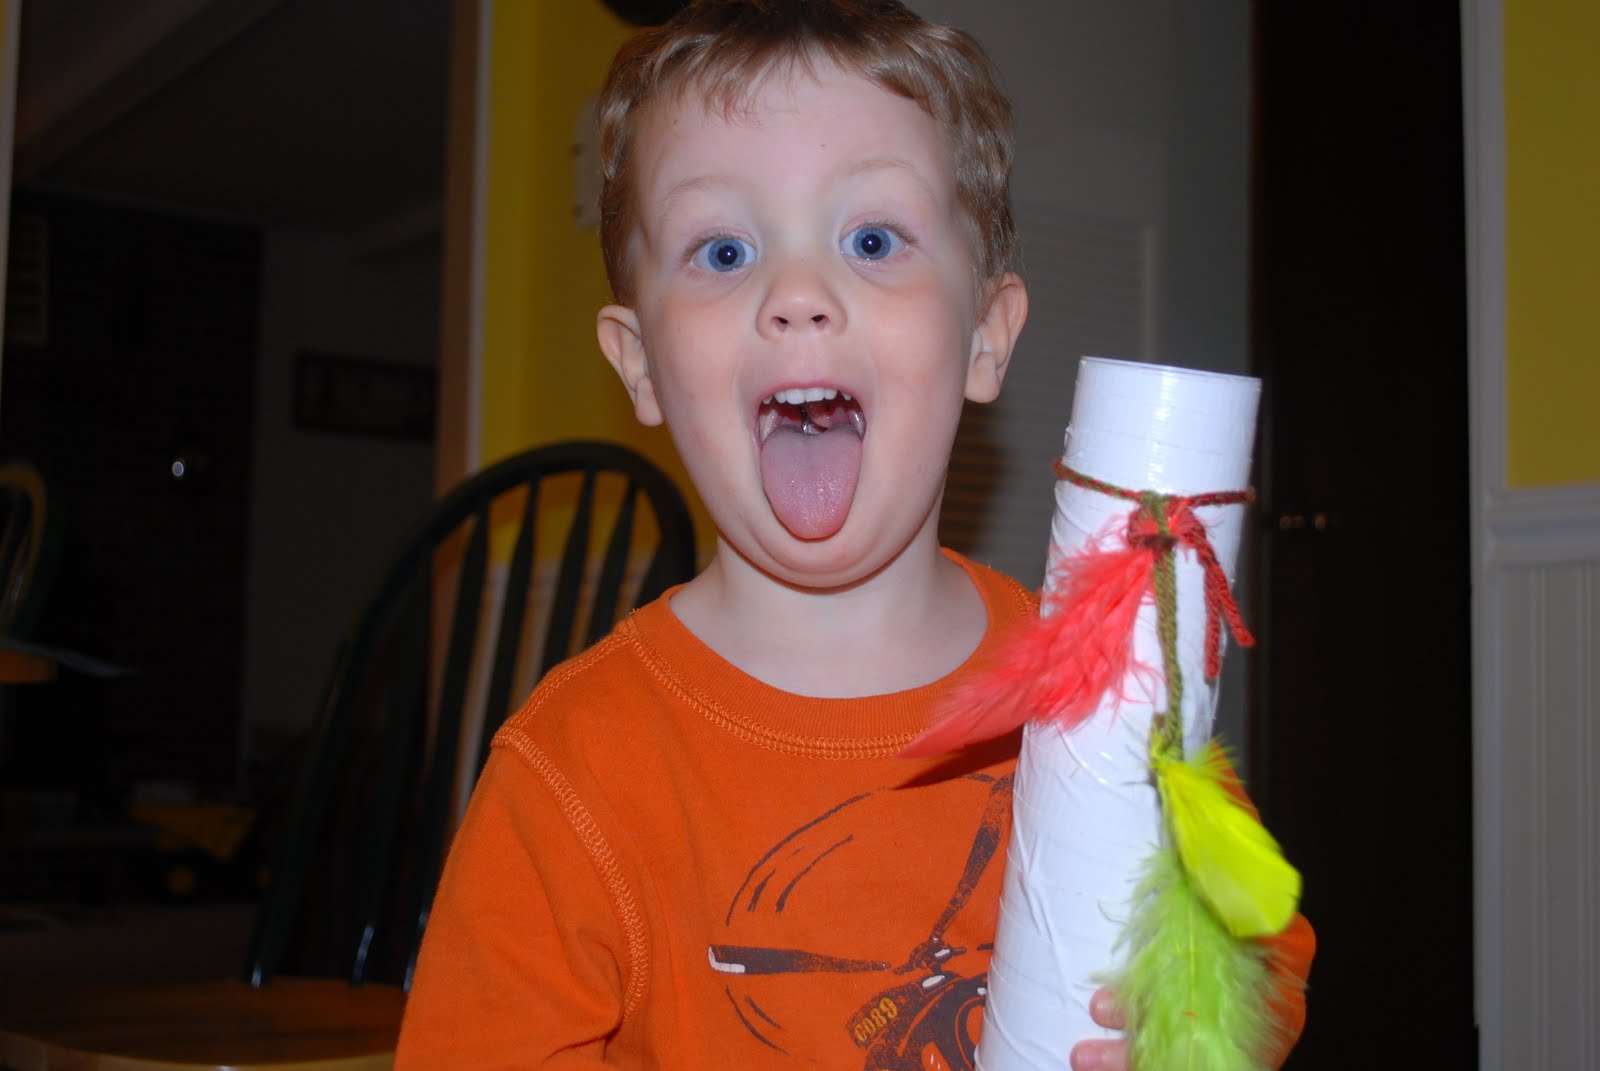
More tool madness! Nothing says craptastic quite like handing a three year a hammer while you try to hold a nail in place. This was a very simple project and a lot of fun. I tried to incorporate some learning in this one and had different types of dried beans and seeds set out in different bowls so we could hear the different sounds each one made. Our verdict: although I thought rice made the prettiest sound, it fell through the tube entirely too fast for Elliott's taste. He decided a mixture of all the beans, popcorn and rice sounded the most pleasing.

I braided three pieces of yarn and tied a feather to each string and tied it around the top of the stick. It's an optional step, but added that Applebee's flair to the rainmaker.

Elliott's Evaluation:
You can tilt it and tilt it and tilt it and it will rain. You can see the beans in it when you pour them in. I love my mommy.