Pages

Showing posts with label paint. Show all posts

Saturday, June 11, 2011

Jedi Light Sabers

Make homemade Jedi Light Sabers
You will need:
  • A long tube of some kind. I was planning on using the tube from wrapping paper, but scored baseball bat Wii controllers at the Dollar Store for 2 for $1!
  • Paint
  • Glitter
  • Black and silver duct tape
  • Paint brush
How to:
  1. Paint 3/4 of your tube in the color of your choice.
  2. While paint is still wet sprinkle with glitter, the more the better!
  3. Once paint is dry, wrap the bottom four inches or so in silver duct tape.
  4. Wrap remaining space between silver and painted area with black duct tape.
  5. Fight the Empire!
Thoughts:
All hail the Dollar Store! I spotted these Wii Baseball bat remote holders at a steal for 2 for $1! And an even better deal: the remote holder actually snaps off from the "bat" portion, making assembly even easier for us. However, if you can't find these yourself, the inner tube from a roll of wrapping paper would work just fine. (And would be a little more gentle.)

These were so easy to make. During battle, uh, I mean, playtime the paint chipped off from the light sabers, but no one seemed to care. This became one of the favors for Elliott's birthday party, as well as the weapon of choice for destroying the Death Star pinata. (See previous post.)

Elliott's Evaluation:
Fun! Painting it was fun. I like that they have glitter all over them. I liked putting the glitter on.

Friday, April 8, 2011

Spring Robin


Make a Spring Robin with your foot!
 You will need:
  • White paper
  • Brown, orange and green paint
  • Paintbrush
  • Black marker or crayon
  • One clean, bare foot
  • Baking sheet (to contain any messes)
How to:
  1. Place paper on baking sheet.
  2. Paint bottom of child's foot with brown paint. Help child to step on paper. (You'll probably have to fill in some areas with more paint.)
  3. Paint an orange belly on Robin. (Since Elliott hasn't quite mastered coloring in lines, I painted a quick line to give him an idea of the area to fill in.) Add a beak.
  4. Add some grass. (And flowers if you want...we aren't that advanced.)
  5. Once paint is dry, add feet and an eye with the marker.
Thoughts:
I found this idea at http://www.momentsofmommyhood.com/ and I'm so glad I did. This Robin is so freaking cute and makes me smile every time I pass it. The craft is really easy and only takes a couple of minutes, so it's a great one if you're a bit pressed for time.

Elliott loved getting his foot painted and has already requested that we make a few more of these and I will be happy to do so. What a sweet craft!

Elliott's Evaluation:
It tickled when Mommy painted my feet! I like to hold my painting up in the window for the birds outside to see. But I don't want to scare them so I stay quiet. We are going to make some more of these.

Wednesday, March 16, 2011

Leprechaun Trap 2011

This year's version of the Leprechaun Trap

Since last year's Leprechaun Trap (http://craptasticcrafts.blogspot.com/2010/06/leprechaun-trap.html) was so much fun we decided to do it again this year!

You will need:
  • Empty tissue box (Again, good thing St. Patrick's Day comes during cold season!)
  • Green paint (plus other colors, if desired)
  • Flat piece of cardboard for base. (We used a portion from a cereal box.)
  • Rocks
  • Gold glitter paint
  • St. Patrick's Day stickers
  • Cotton balls
  • Pipe Cleaners in all the colors of the rainbow
  • Glue gun
How to:
  1. If using a base, paint and let dry. Paint tissue box and let dry. Paint box with additional colors, if desired.
  2. 
  3. Paint rocks and then cover with glitter glue. Let dry.
  4. Elliott loooved painting glitter glue on the rocks.
  5. Decorate box with stickers.
  6. Cut pipe cleaners to desired size and curve into a rainbow arch. Wrap each end of rainbow with pipe cleaner to secure.
  7. Stretch out cotton balls as much as possible without tearing. (We used four balls for each cloud.)
  8. Glue ends of rainbows into each cloud, using glue gun to secure.
  9. 
  10. Glue rainbow and clouds over the hole on the top of the box.
  11. 
    I love that Elliott came up with the idea to cover the hole of the trap all on his own.
  12. Glue glitter rocks on to trap.
Recap on story:
Leprechauns are very sly little guys and it's hard to catch them. But if you do, they HAVE to take you to the end of a rainbow where you will be rewarded a pot of gold. If you don't catch them (most likely), but they are impressed with your attempt, they may leave you a treat. (As well as play tricks on you!)


Thoughts:
Ahhh, glitter glue. Just when I thought I had lost Elliott to the Wii, glitter glue brings him right back. E had no desire to paint the box or base green, but after glittering up the rocks, he decided to paint some other colors onto the box, hence the dripping blood look. He was really into placing the stickers on and insisted on going through the whole sheet. (So much for saving some for next year!)

My favorite part? On his own, Elliott came up with the idea to place the rainbow and clouds over the hole so that the leprechaun wouldn't see the hole and would, hopefully, fall in. That's using your noggin, Kid!

Elliott's Evaluation:
I love glitter glue! I really liked painting the rocks. Putting stickers on the trap is fun. I think we are going to trap a leprechaun but I hope he doesn't get scared if he falls in the hole. Maybe we should put a light in there for him....can we do that?

Monday, July 26, 2010

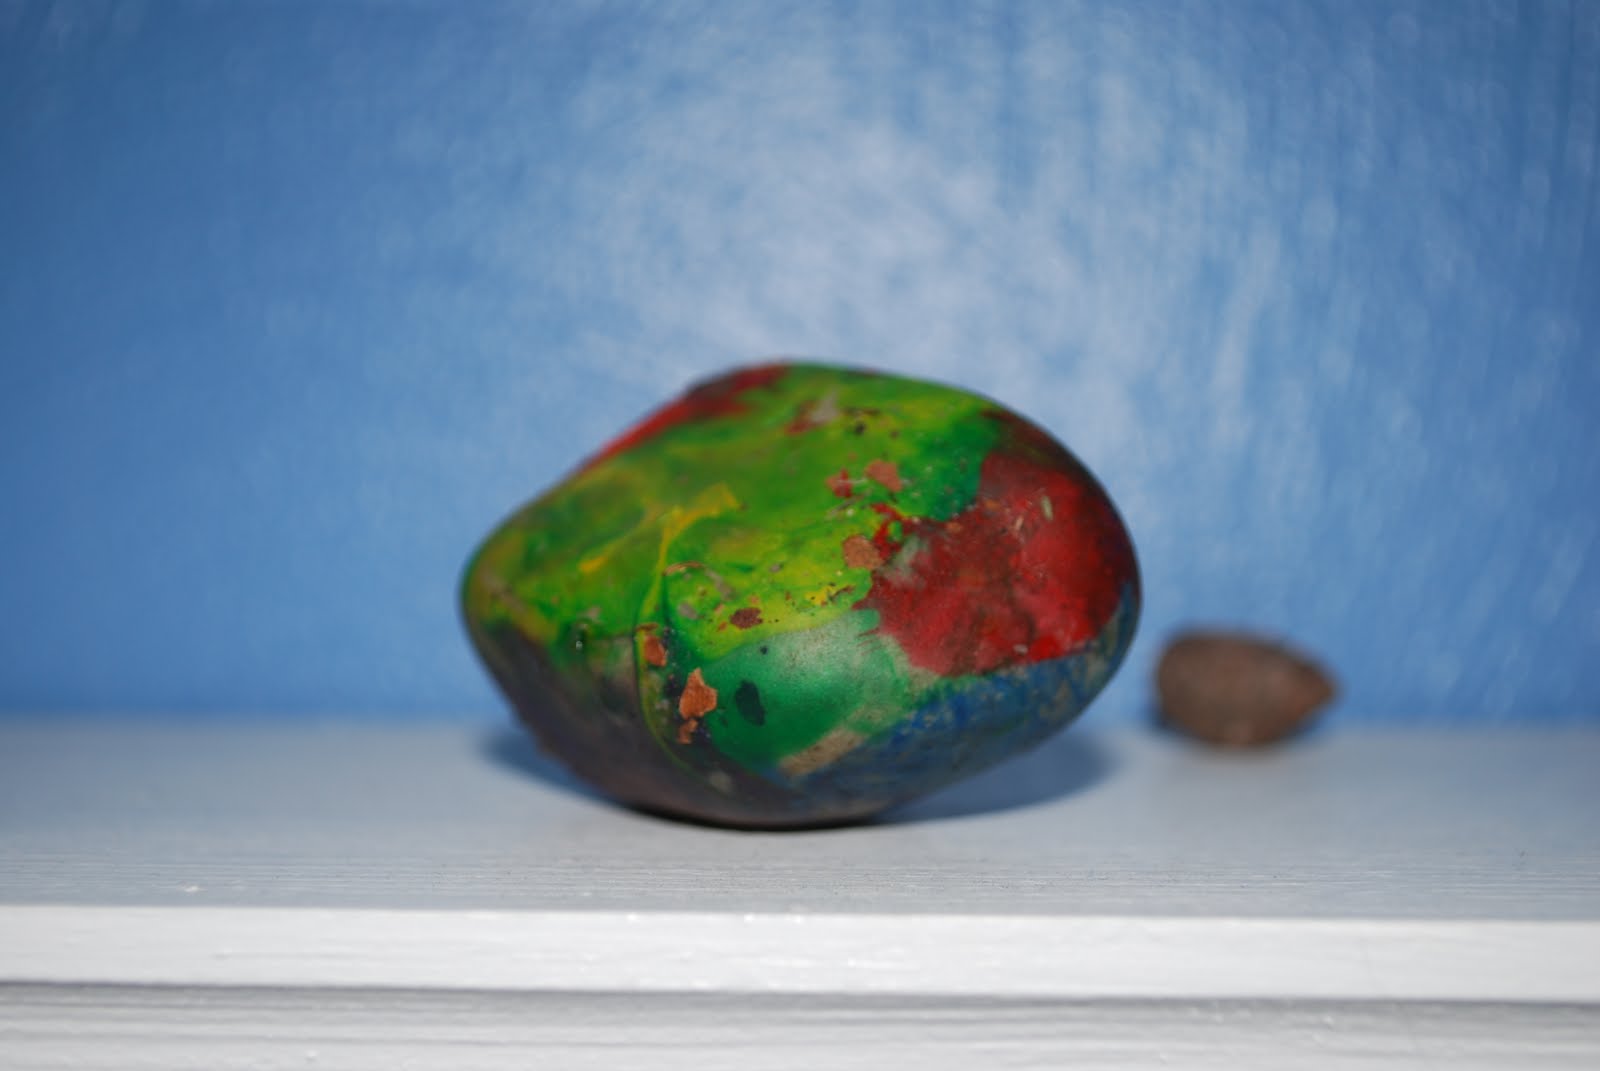
Painted Pet Rock


Our new pet rock.

You will need:
  • A rock
  • Paint
  • Paintbrush
How to:
Seriously? You are actually reading the directions for this project? Well, OK, for those of you who like to have things spelled out for you...

  1. Go for a walk and look for a nice size rock.
  2. Pick up rock; take it home.
  3. Wash off any dirt. Let dry
  4. Paint rock. Let dry.
Thoughts:
Easy, easy, easy. Our rock sits on Elliott's bookshelf now, but for weeks after it was made, it went EVERYWHERE with us.

 We walked for quite a while and turned our noses up at several rocks before finding "the one". I think that was part of the reason Elliott took such ownership of his rock.

You'd be surprised at how well this project goes over with kids.