Pages

Showing posts with label nature. Show all posts

Saturday, May 7, 2011

Acorn Jewel Caps


Turn acorns into a work of art!

You will need:
  • Acorn caps (try to get the larger, flat ones)
  • Markers
  • Glue
  • Rice
How to:
My sister lives in a state where there is no abundance of acorns so I once sent her a small bag full of them to use for crafts. When she opened the bag it was crawling with what she thought were maggots. Ewwww, so gross. I have since found out that they weren't maggots, but weevils, nasty looking larvae that eat the nut inside. They live in the nut during the winter and can sense when the weather is warmer and will come out then. (Hence them coming out while being shipped cross country in a nice warm box.) I get the heebie-jeebies just thinking about them now. Point being, if you're going to do any crafts with acorns, I suggest you follow step one first!

  1. Clean  acorn caps of any dirt and debris. Place acorns on baking sheet and cook at low setting (I did 200 degrees.) for about 40 minutes. This will kill any weevils that are lurking in your acorns. Do weevils live in the caps as well? I have no idea, but I was certainly not interested in finding out.
  2. Sprinkle a shallow layer of rice on to a plate or pan. (Just enough to give the acorn caps a sturdy place to stand while drying.)
  3. Completely color the inside of acorn cap with marker. Place upright on plate of rice.
  4. Fill to the rim of cap with glue.
  5. Let dry. (Ours took about 3 full days to dry.)
Thoughts:
Totally stole this idea from: http://homemadeserenity.blogspot.com/ a blog that makes me want to own my own chickens. So cute! (the acorns and her blog!) Elliott didn't really have the patience to color in each cap; I had to go behind him and make sure they were filled in. But he totally looooved filling the caps up with glue. Loved it. Couldn't get enough of it. Would probably still be filling acorn caps with glue. Would probably carry glue with him on walks so he could fill stray caps, given the choice.

Me? I thought this was crazy cute. Who would've thought glue would dry into a shiny, glossy color like that? Once you fill the caps up, you have no idea what the color underneath is, but after a few hours the colors start to leak into the edges a bit. We had fun trying to guess what the color was going to be. For three days (several times daily) we would go check on the acorns to see if they had hardened enough. Once it does, the color shines through.

As cute as they are though, we haven't done anything with them. The above blog mentioned using them as a matching game, which is a great idea, but we only used a few colors, so that wouldn't work for us. Still, lots of fun to make.

Elliott's Evaluation:
I liked putting the glue in. I balanced the acorns so I didn't get any glue out. I liked waiting for it to dry and trying to see the colors. I'm waiting to play Matching games with it.
Monday, July 26, 2010

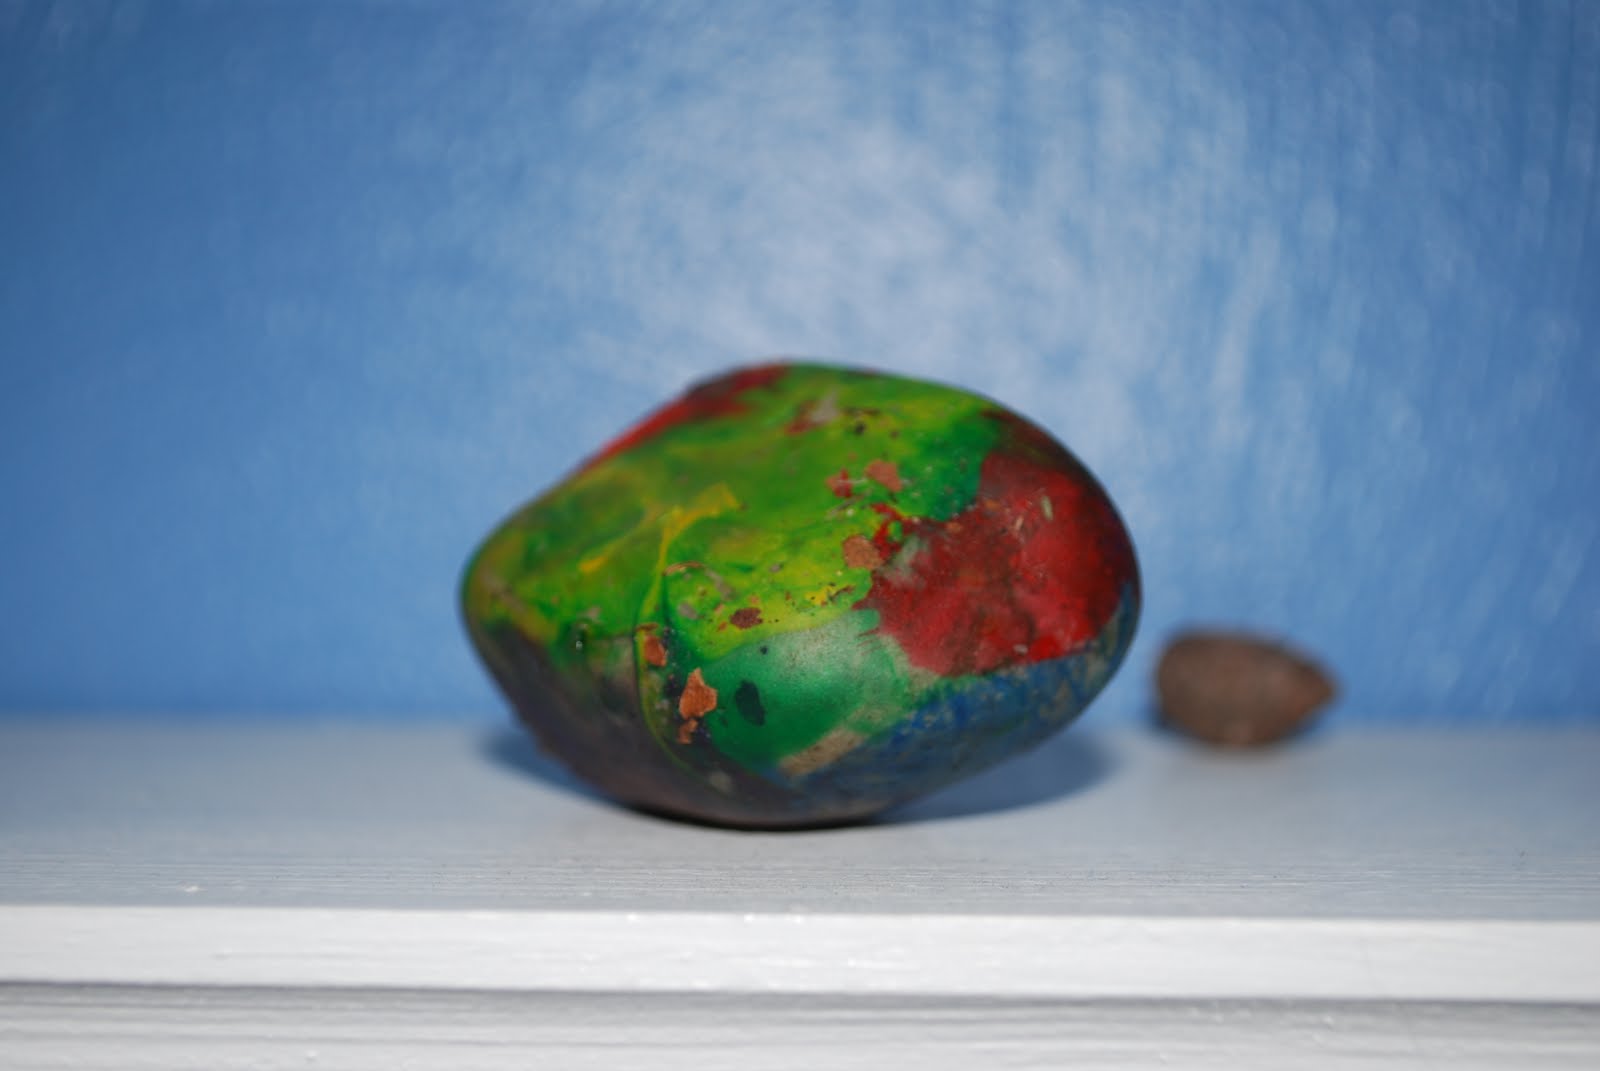
Painted Pet Rock


Our new pet rock.

You will need:
  • A rock
  • Paint
  • Paintbrush
How to:
Seriously? You are actually reading the directions for this project? Well, OK, for those of you who like to have things spelled out for you...

  1. Go for a walk and look for a nice size rock.
  2. Pick up rock; take it home.
  3. Wash off any dirt. Let dry
  4. Paint rock. Let dry.
Thoughts:
Easy, easy, easy. Our rock sits on Elliott's bookshelf now, but for weeks after it was made, it went EVERYWHERE with us.

 We walked for quite a while and turned our noses up at several rocks before finding "the one". I think that was part of the reason Elliott took such ownership of his rock.

You'd be surprised at how well this project goes over with kids.

Sunday, June 27, 2010

Bird's Nest

It's a bird's MESS!

You will need:
There is no set list of materials you'll need for this project. Part of the fun is talking about birds and what things they might use to make a nest and to go on a hunt to find them in your yard. (or on a walk through your neighborhood) The items we used:

  • Twigs
  • Hay
  • Grass
  • Feathers
  • Moss
Our collection of materials found in the yard.

And where we cheated (not that it helped us at all):
  • Yarn
  • Clay magic modeling clay

How to:
The challenge was to create our own bird's nest from materials we found in the yard. We did cheat a bit (well, a lot) by starting off with a bit of clay that we molded into the shape of a bowl. Then we just started randomly sticking the other materials into the bowl to make a nest.

Thoughts:
All hail the bird! Trying to make a bird's nest proved a huge challenge and gave me a whole new respect for a creature without opposable thumbs who can build a perfect little bowl of sticks....

An actual bird's nest. Amazing! I have a whole new respect for creatures who can build this with their beaks!

Our nest was an absolute disaster and Elliott had to cup his hands around it just to get it to stay together long enough for a decent picture. My vision of buying little fake birds to place inside our nest and displaying it proudly somewhere in the house was quickly crushed.


HOWEVER, (I put it in all caps, just to keep your attention, lest you were planning on not trying this project.) this craft was a big success as far as a fun time goes. I took the opportunity to check out a few bird books at the library beforehand and we spent days talking about birds and ways they could build nests. (Plus it helped that some Robins were building one in the front yard.) Elliott had so much fun collecting items for the nest. Even our neighbors got into the act and found some pieces he might be able to use. He had me in stitches (What exactly does that mean?) when he started to talk to a bird and I heard him asking, "What do you use in your nest?  How do you get it to stay together? Talk to me!" 

Needless to say the bird did not respond. If he had we might have had better luck.