Pages

Showing posts with label rocks. Show all posts

Monday, March 28, 2011

Rock Man

Make this cute Rocker!

You will need:
  • Rocks of different shapes and sizes
  • Tacky craft glue
  • Paint
  • Googly eyes
  • Pipe cleaners, feathers, yarn, etc. (Use your imagination!)

How to:
Make sure your rocks are clean and dry. Paint rocks and let dry.

Assemble rock man as desired and use glue to attach. (We used Superglue and it only lasted a few days. I think a really tacky glue or glue gun will work better.)

Embellish rock man with googly eyes, feathers, etc. We used a feather for his hair, googly eyes and two shades of blue pipe cleaners twisted together for his arms and legs.

Thoughts:
Awww. I forgot how cute Rock Man was. (He fell apart fairly quickly after we finished him. Guess SuperGlue isn't all that super on rocks.) Elliott was so proud of his finished sculpture!


Elliott's Evaluation:
Good. I liked it.
(Me: Can you give me anything else?)
I liked it!
(Me, with a raised eyebrow: ...and...)
I liked putting the feather on.
(Me: Anything else?)
Mom, I'm trying to play Wii!! Look at Chewbacca with a Storm Trooper helmet on!
(Me: no reaction)
Mom! Look at Chewbacca!
(Me: No, if you can't take a moment for this, I can't look at your game.)
Mom! I really liked it. I liked stacking the rocks. I like him. Can you look at Chewbacca now?
(Me: Mmm, hmm. Chewbacca has on a Storm Trooper's helmet. That's really funny. Sigh.)

Sunday, February 20, 2011

Dinosaur Terrariums


You will need:

  • Small glass bowls
  • Rocks
  • Potting soil
  • Small plant
  • Plastic animals (We used the dinosaurs from our Treasure Stone craft.)
  • Twine (optional)
How to:
In a small bowl, place one layer of rocks (for drainage). Top with potting soil. Place small plant in soil. Decorate with a couple more rocks and plastic animals. Wrap twine around bowl.

Thoughts:
When planning Elliott's Dinosaur party, this was that one craft that I kept in the "maybe" pile. Elliott, however, had other plans. We. Were. Doing. This. Craft. What a hit! Every party-goer LOVED doing this. Who would've thought?

I really wanted to find some cacti plants for this, but cacti, in Pennsylvania, in the Spring don't mix. After weeks of looking, I finally found some at Home Depot for $7 each! Um, no thank you. Luckily, we had planted some Basil seeds that were going berserk in their pot, so I was able to transplant several smaller plants from that. Plus, does anything smell better than basil and potting soil? It was a win-win for me.

Our little terrarium sat on our deck table as a centerpiece all summer.

Elliott's Evaluation:
I loved this! I liked putting the rocks in. And the dinosaurs in. And I liked putting the plant in and the dirt in.

Saturday, February 12, 2011

Treasure Stones


Encourage your budding Paleontologist with these cool fossil stones!
 You will need:
  • 1 cup flour
  • 1 cup used coffee grounds (set out overnight to dry)
  • 1/2 cup salt
  • 1/4 cup sand
  • 3/4 cup water
  • Small toys (We used small, plastic dinosaurs.)
  • "Tools" to break open stones. (We used toothbrushes and wooden craft spoons.)
Recipe makes 4 stones.


How to:
  1. In a medium sized bowl, combine all the dry ingredients. Slowly add water, stirring until the mixture forms a dough.
  2. Roll a piece of the dough into a ball about the size of a baseball. Use your finger to bore a hole to the center, push in small toy, then seal hole back up with more dough.
  3. Repeat with remaining dough.
  4. Place stones on baking sheet and cook for 40 minutes at 170 degrees. Let cool before breaking open.

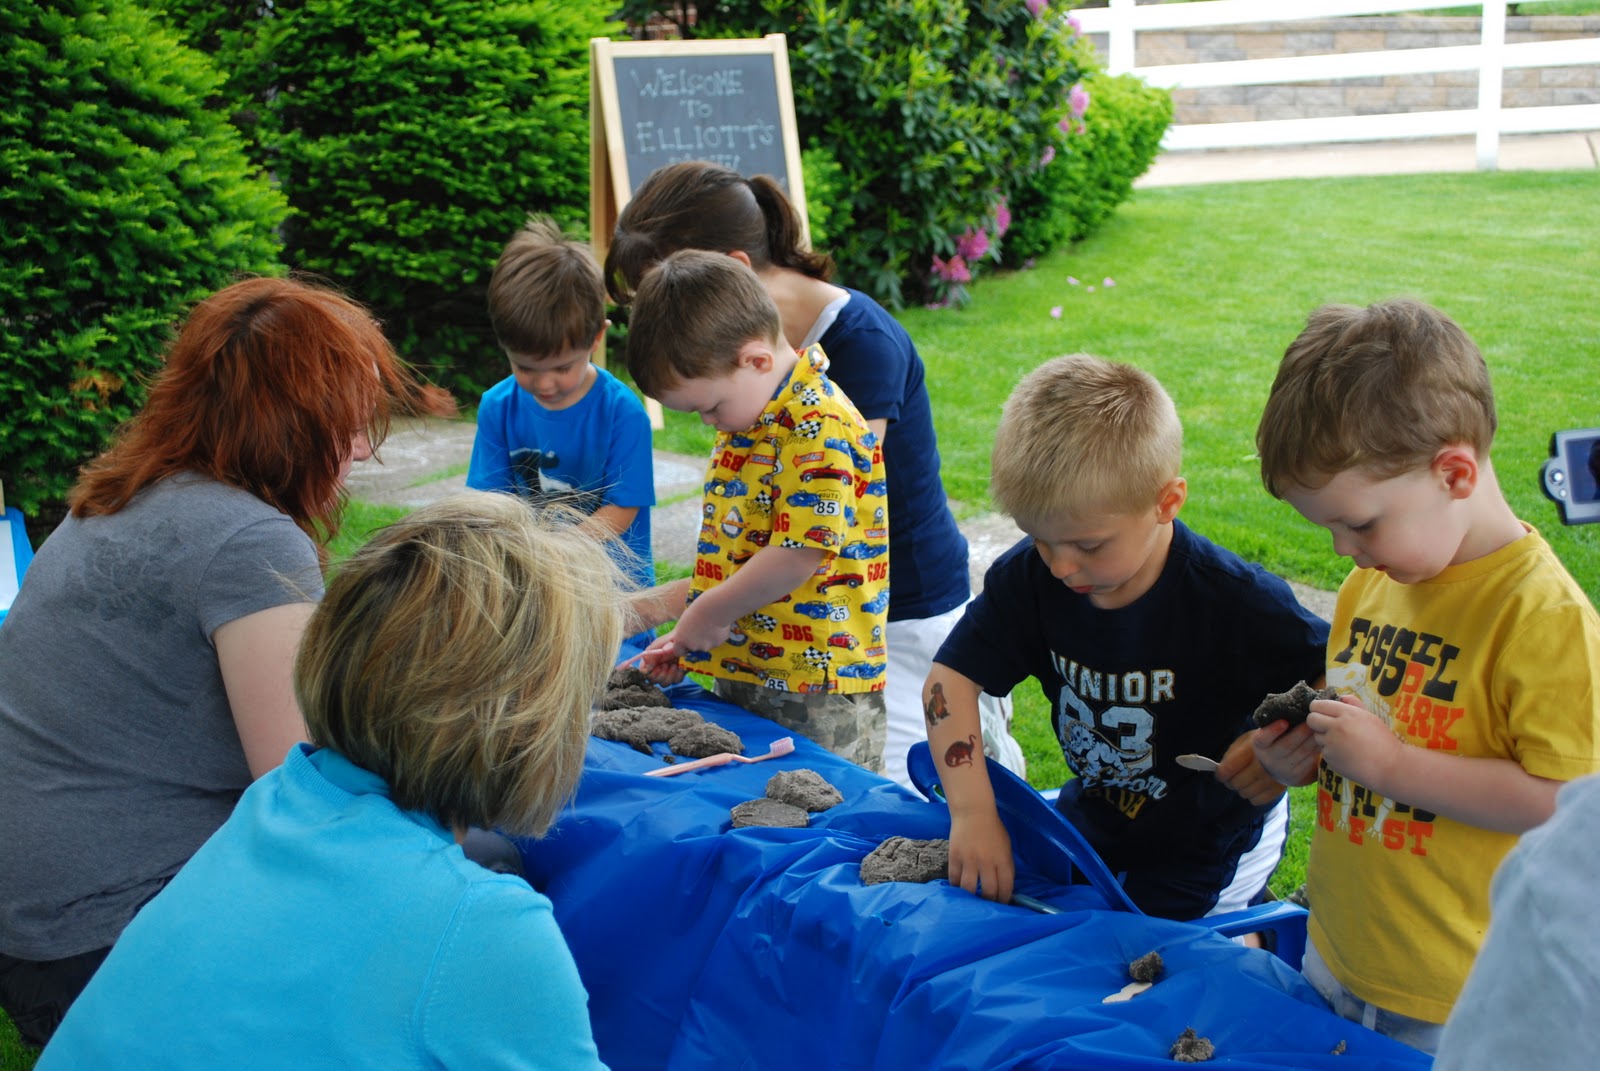
Assembly line of dinosaur hunters

Thoughts:
I found this craft in Family Fun magazine and it was one of the crafts from Elliott's 3rd birthday. (Dinosaur party.) I ended up making several batches of it because I wanted each child to have two stones to break open and because the dinosaur figures proved a bit difficult to cover with all their long tails and necks.


These were so easy and really fun to make. The recipe is perfect for young kids to help with. I was very nervous about putting plastic in the oven (!!!) and even did some searching on the Internet before I got the guts to do it. But, no problems. The temperature of the oven was actually so low, that the baking sheet probably could have been picked up without a pot holder. (But, DUH, don't try that!)


I stored the stones in plastic bags for about 2 weeks before the party and they held up well, but I do suggest a dry spot to store them. Humidity seemed to make them a tad moist. Besides looking pretty foul, (I think the party-goers thought they were digging through dino-poo.) the boys sort-of loved breaking them open. (Again, the poo look made them a bit wary.)

Really cool project!

Connor totally "dug" it!

Christian wouldn't touch it with his bare hands!


Elliott's Evaluation:
There were dinosaurs inside! They were kind of hard to open. We used toothbrushes to brush the dirt off our dinosaurs. I don't brush my teeth with that toothbrush. Do we still have those dinosaurs? Let's have another dinosaur party and do all those crafts again.


Monday, July 26, 2010

Painted Pet Rock


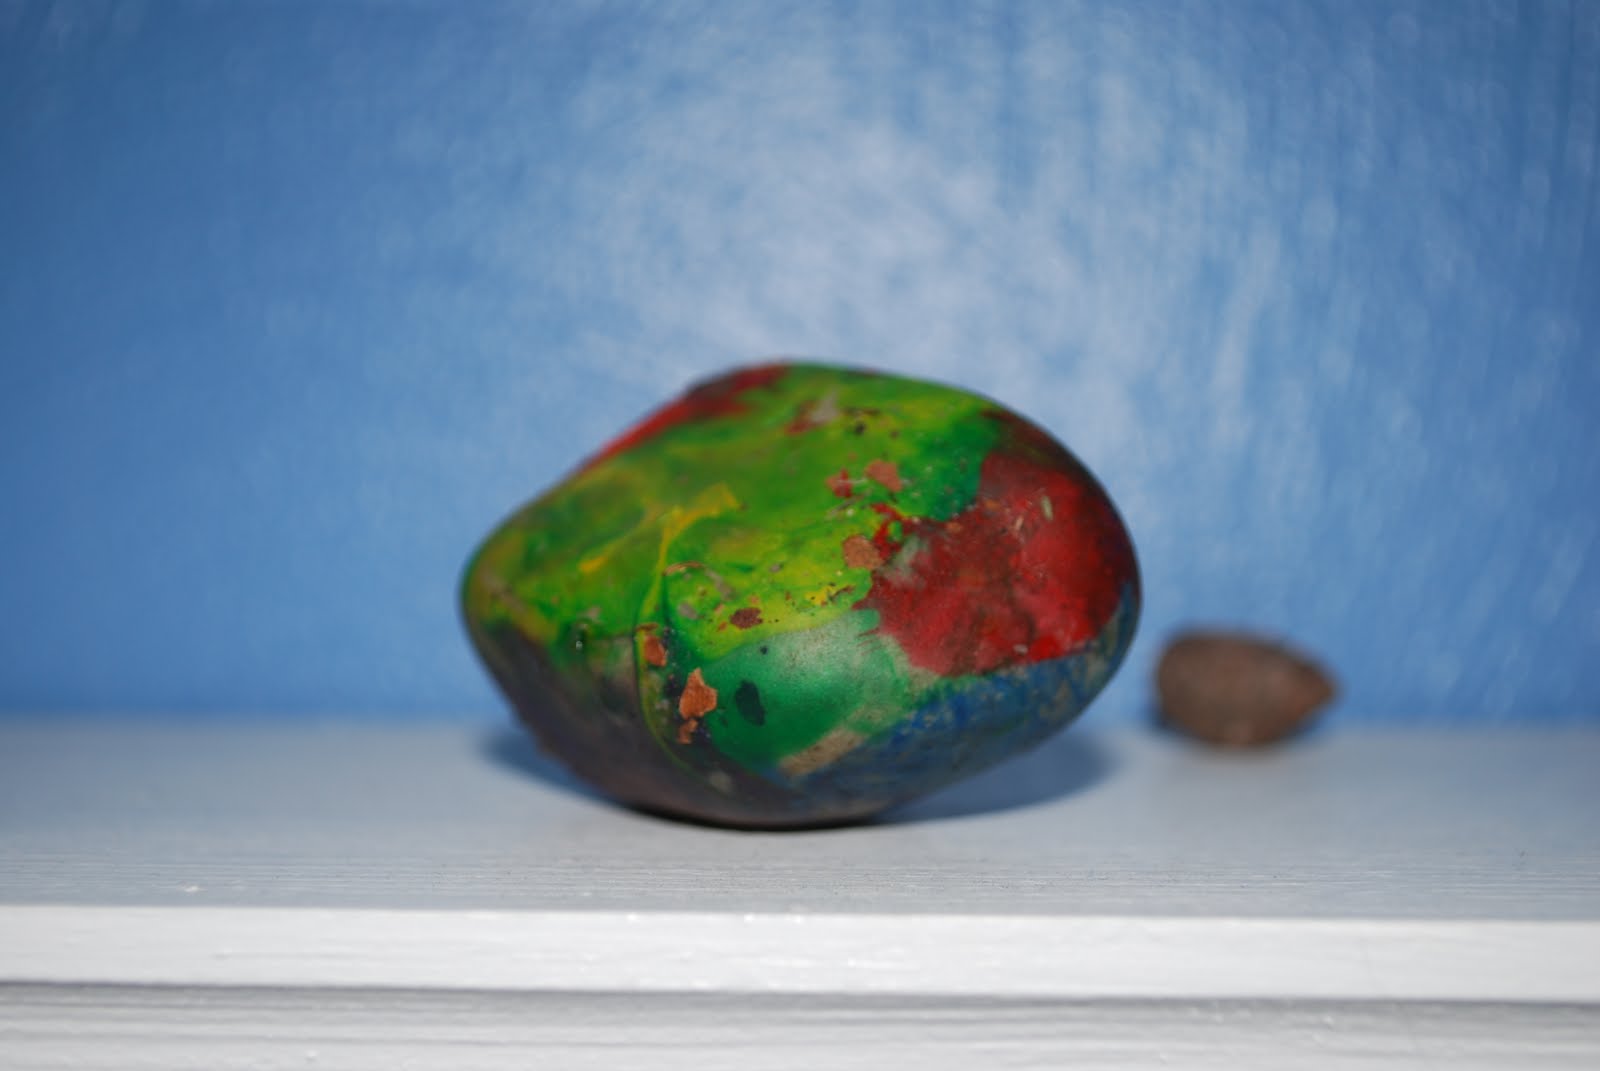
Our new pet rock.

You will need:
  • A rock
  • Paint
  • Paintbrush
How to:
Seriously? You are actually reading the directions for this project? Well, OK, for those of you who like to have things spelled out for you...

  1. Go for a walk and look for a nice size rock.
  2. Pick up rock; take it home.
  3. Wash off any dirt. Let dry
  4. Paint rock. Let dry.
Thoughts:
Easy, easy, easy. Our rock sits on Elliott's bookshelf now, but for weeks after it was made, it went EVERYWHERE with us.

 We walked for quite a while and turned our noses up at several rocks before finding "the one". I think that was part of the reason Elliott took such ownership of his rock.

You'd be surprised at how well this project goes over with kids.