Pages

Showing posts with label noise. Show all posts

Tuesday, September 14, 2010

Rainmaker

Make a noisy rainmaker! Because you need more noise in your life.


You will need:
  • 1 and 1/2 to 2 inch wide mailing tube, with stoppers
  • Nails that match the width of your mailing tube (we used 32)
  • Duct tape or contact paper
  • Dried seeds, beans or rice (about 1 cup)
  • Yarn and feathers (optional)


<><>
<>
<><>
<>
Good idea.


How to:
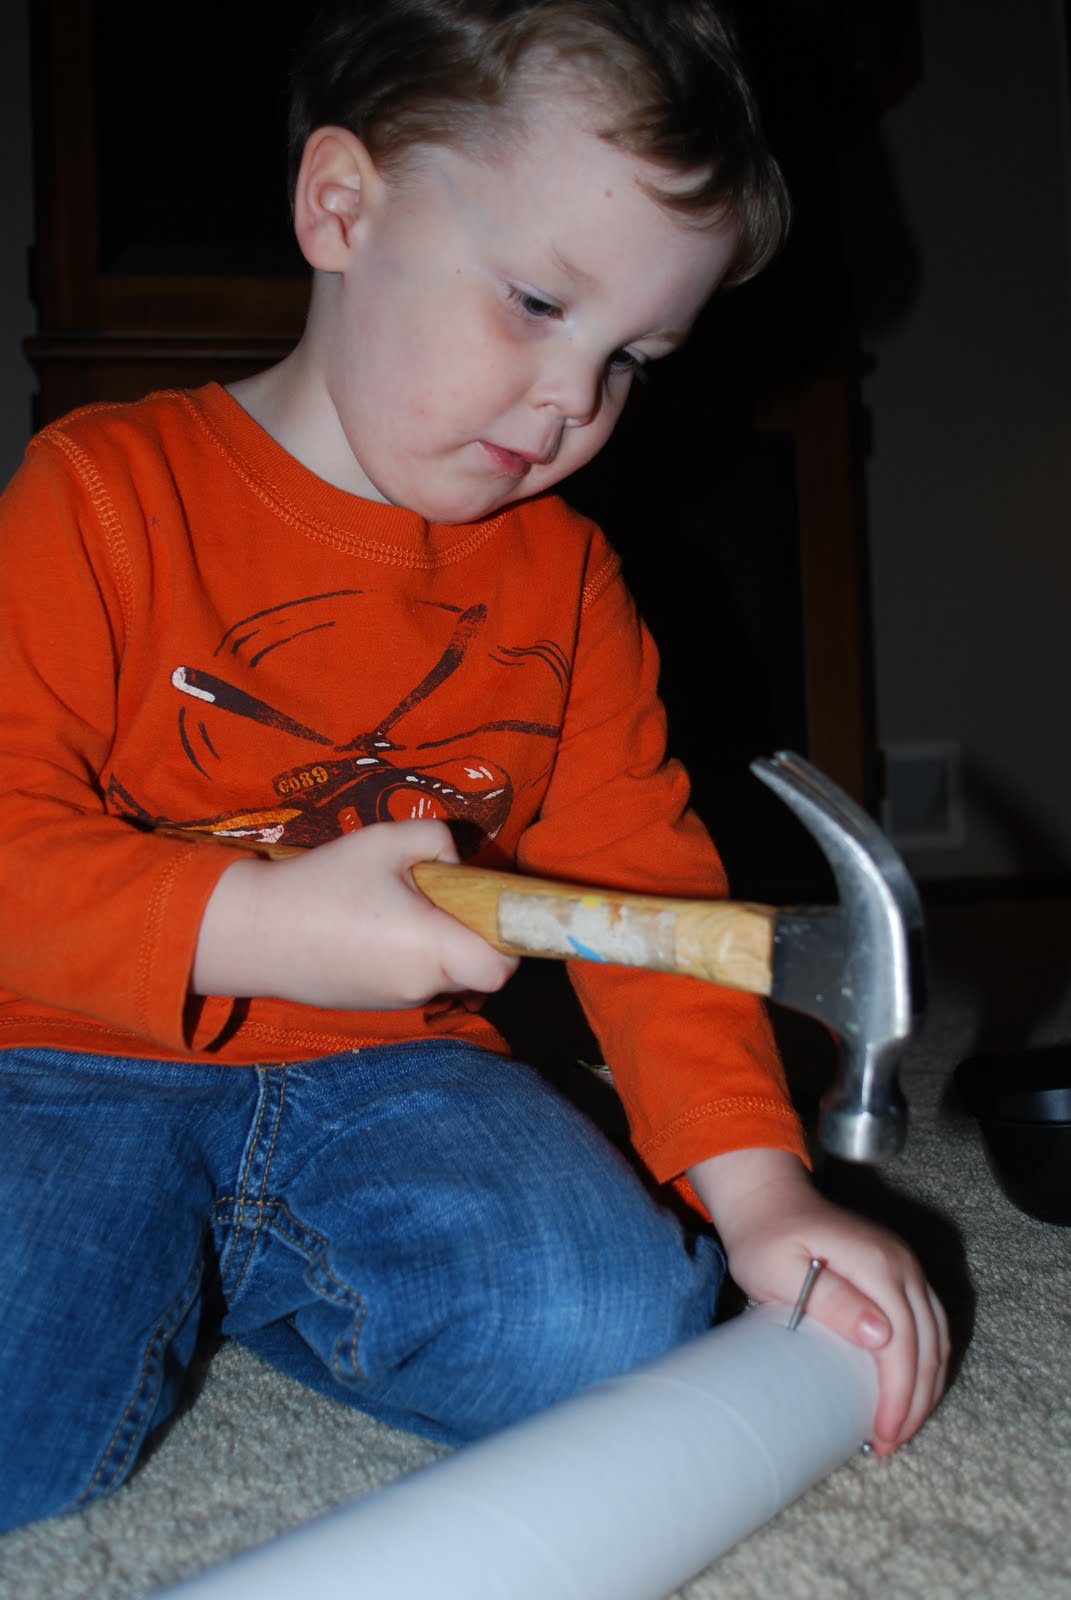
  1. Hammer nails in random spots all over mailing tube.
  2. Place stopper at one end of tube.
  3. Fill tube with dried beans.
  4. Place another stopper at other end of tube.
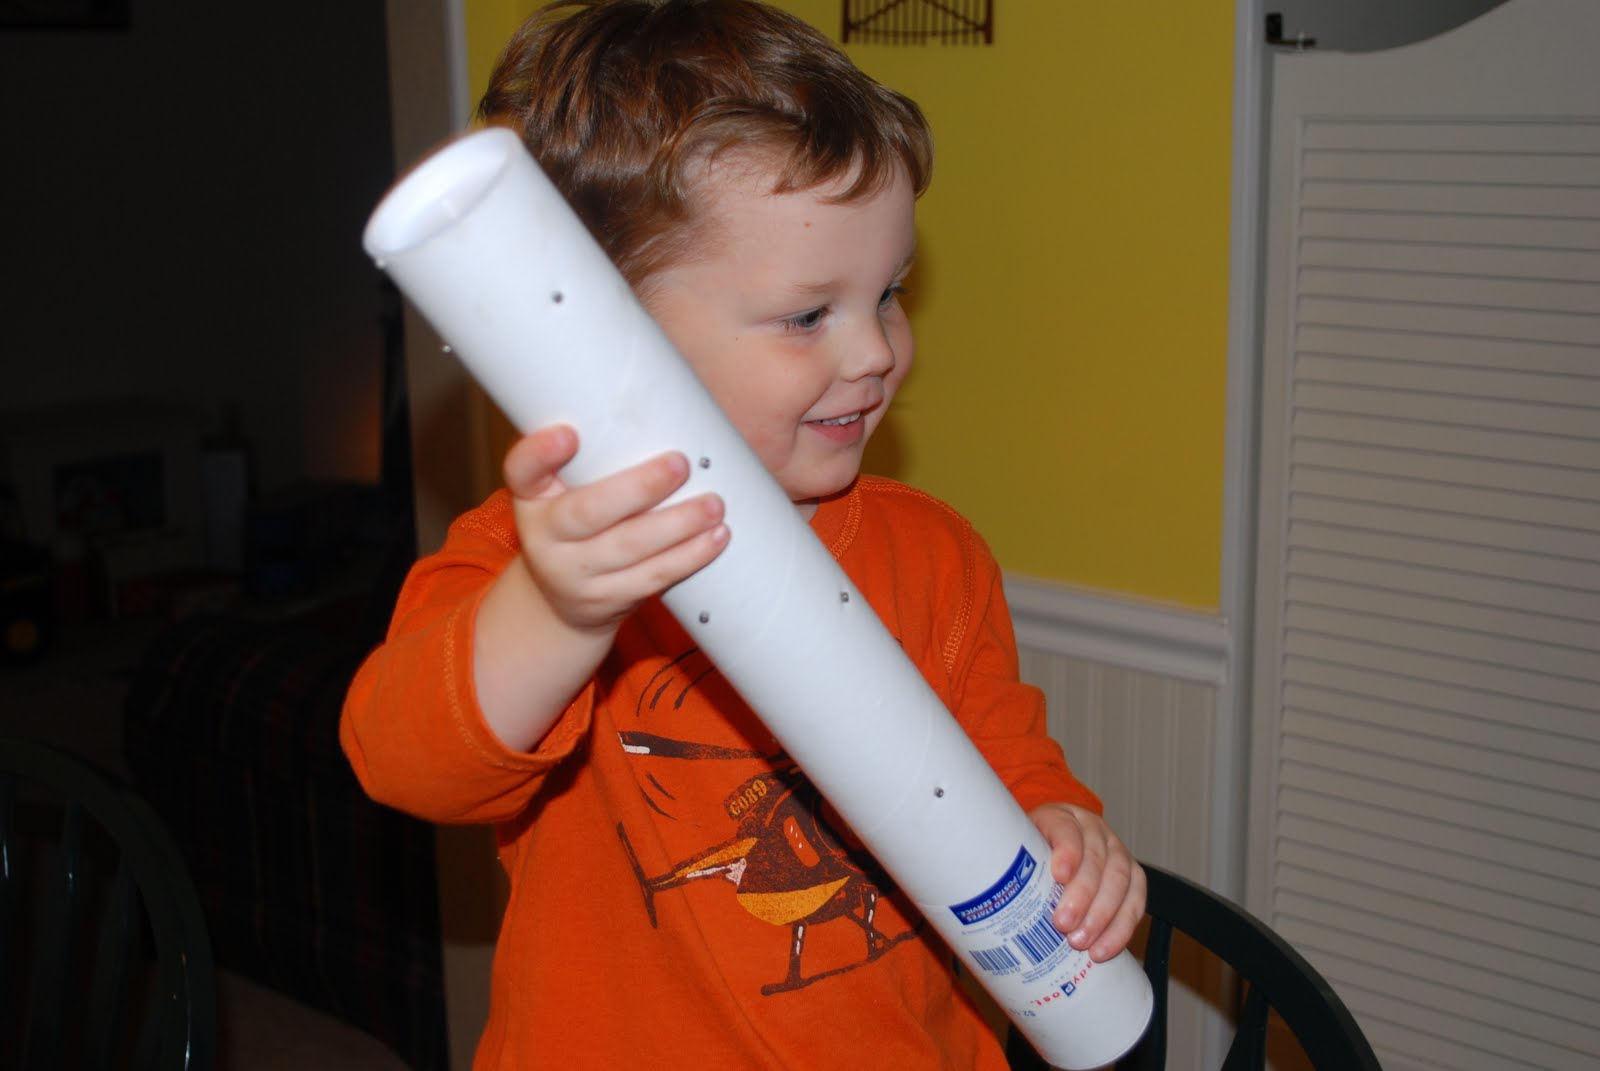
  5. Wrap entire tube with duct tape or contact paper. (This covers up the nail heads.)
  6. Decorate one end with yarn and feathers.
Thoughts:
More tool madness! Nothing says craptastic quite like handing a three year a hammer while you try to hold a nail in place. This was a very simple project and a lot of fun. I tried to incorporate some learning in this one and had different types of dried beans and seeds set out in different bowls so we could hear the different sounds each one made. Our verdict: although I thought rice made the prettiest sound, it fell through the tube entirely too fast for Elliott's taste. He decided a mixture of all the beans, popcorn and rice sounded the most pleasing.

I braided three pieces of yarn and tied a feather to each string and tied it around the top of the stick. It's an optional step, but added that Applebee's flair to the rainmaker.

Elliott's Evaluation:
You can tilt it and tilt it and tilt it and it will rain. You can see the beans in it when you pour them in. I love my mommy.
Tuesday, May 11, 2010

Melody Maker


This project involves a child's favorite things; noise, tools and a trip to the hardware store! We spread this out into 2 day craft and made a trip to Home Depot part of the fun. We made this over a year ago and Elliott still requests to play with it.


You will need:
  • 1/2 by 4-inch Threaded eyebolt
  • Teflon (plumber's) tape
  • 1/2-inch coupling nut
  • 1/2-inch all-thread rod, 24 to 36 inches long
  • 10 to 15 1/2-inch washers
  • 1/2-inch locknut


Overwhelmed already? If you're like me, you will have never heard of half of these items. (We had just finished remodeling our bathrooms, so plumber's tape was the only item I knew or had in stock.) I got this idea from Family Fun magazine. Go to their website for a printable diagram that you can bring right to the store. (www.FamilyFun.com/magazine)


How to:
  1. Wrap teflon tape around the end of the eyebolt and both ends of the rod. (Prevents metal from unscrewing.)
  2. Assemble the pieces in the order listed, slide washers on and finish with the locknut.
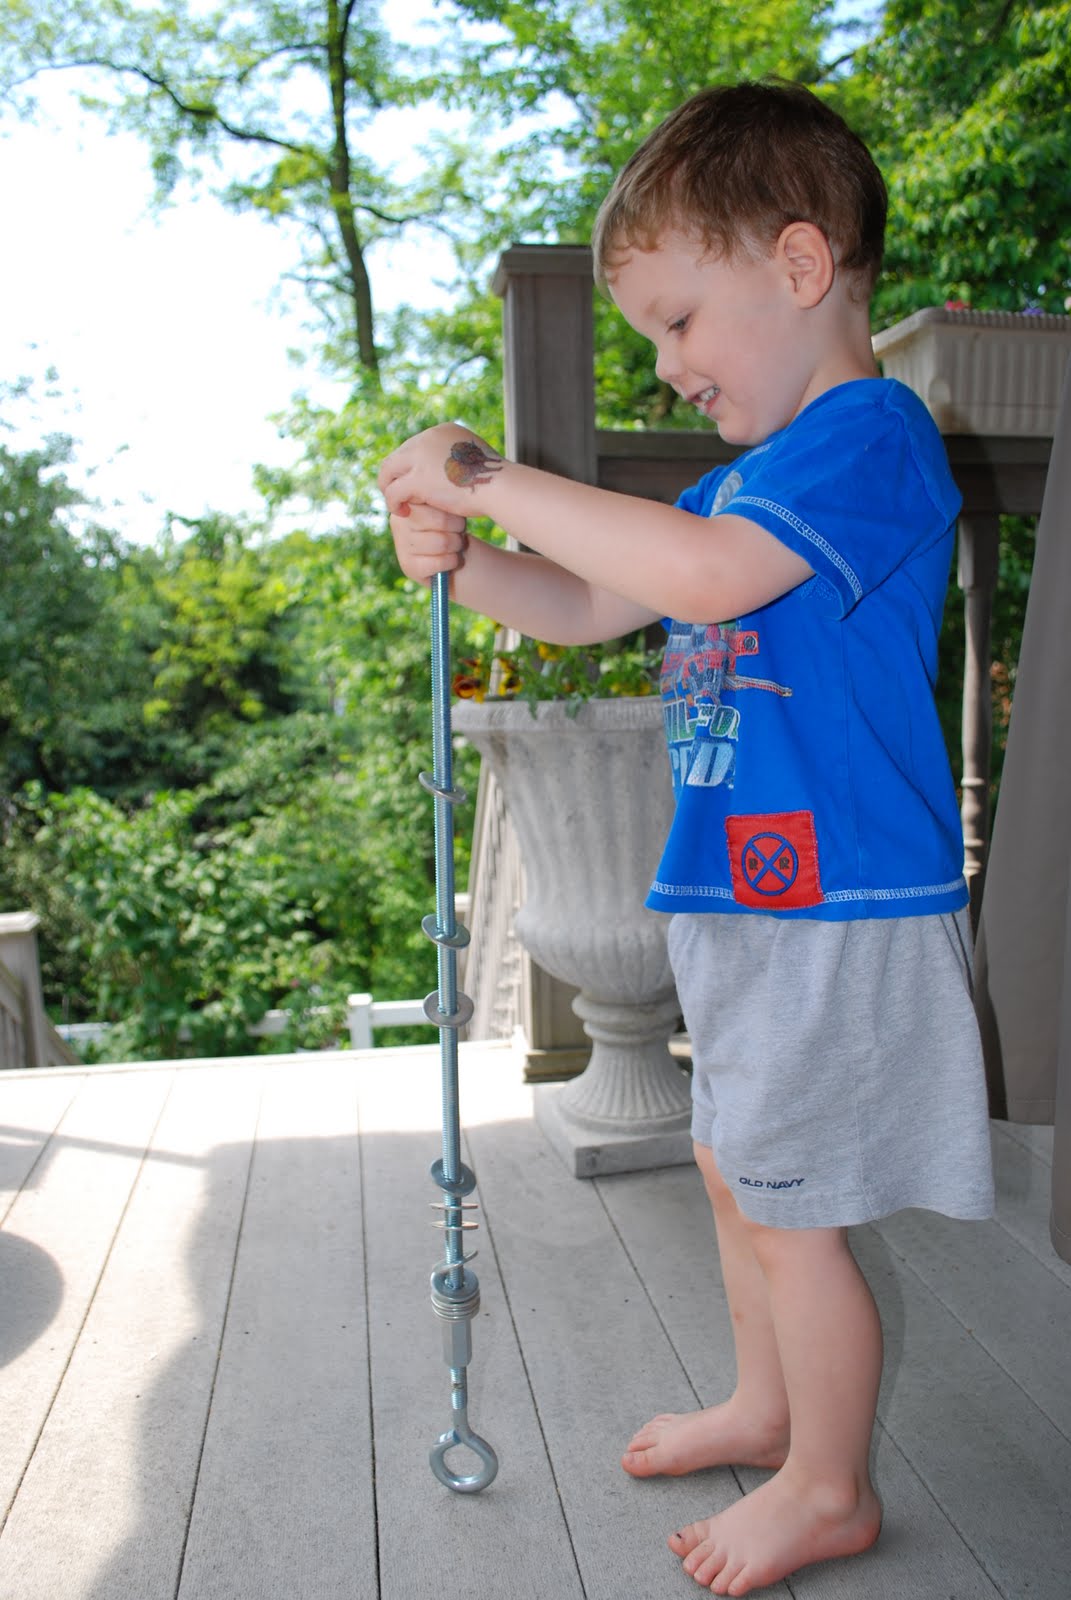
  3. Hang the eyebolt with a rope and place within child's reach. They will push the washers up to the top and let them drop again and again and again and again.....

Thoughts:
After assembling this rod, I felt like I could build anything! It was really fun to locate all the items at the store. And as an added bonus: I don't give my husband a blank stare if he happens to mention "washers" or "eyebolts".

Elliott really enjoyed putting all the parts together and like I said, a year later he still plays with it. A note of caution, it IS a metal rod. Probably not the best project for a child who likes to, say, swing metal rods around. This is an outside toy for that exact reason.