Pages

Monday, February 28, 2011

Milk Jug Garage


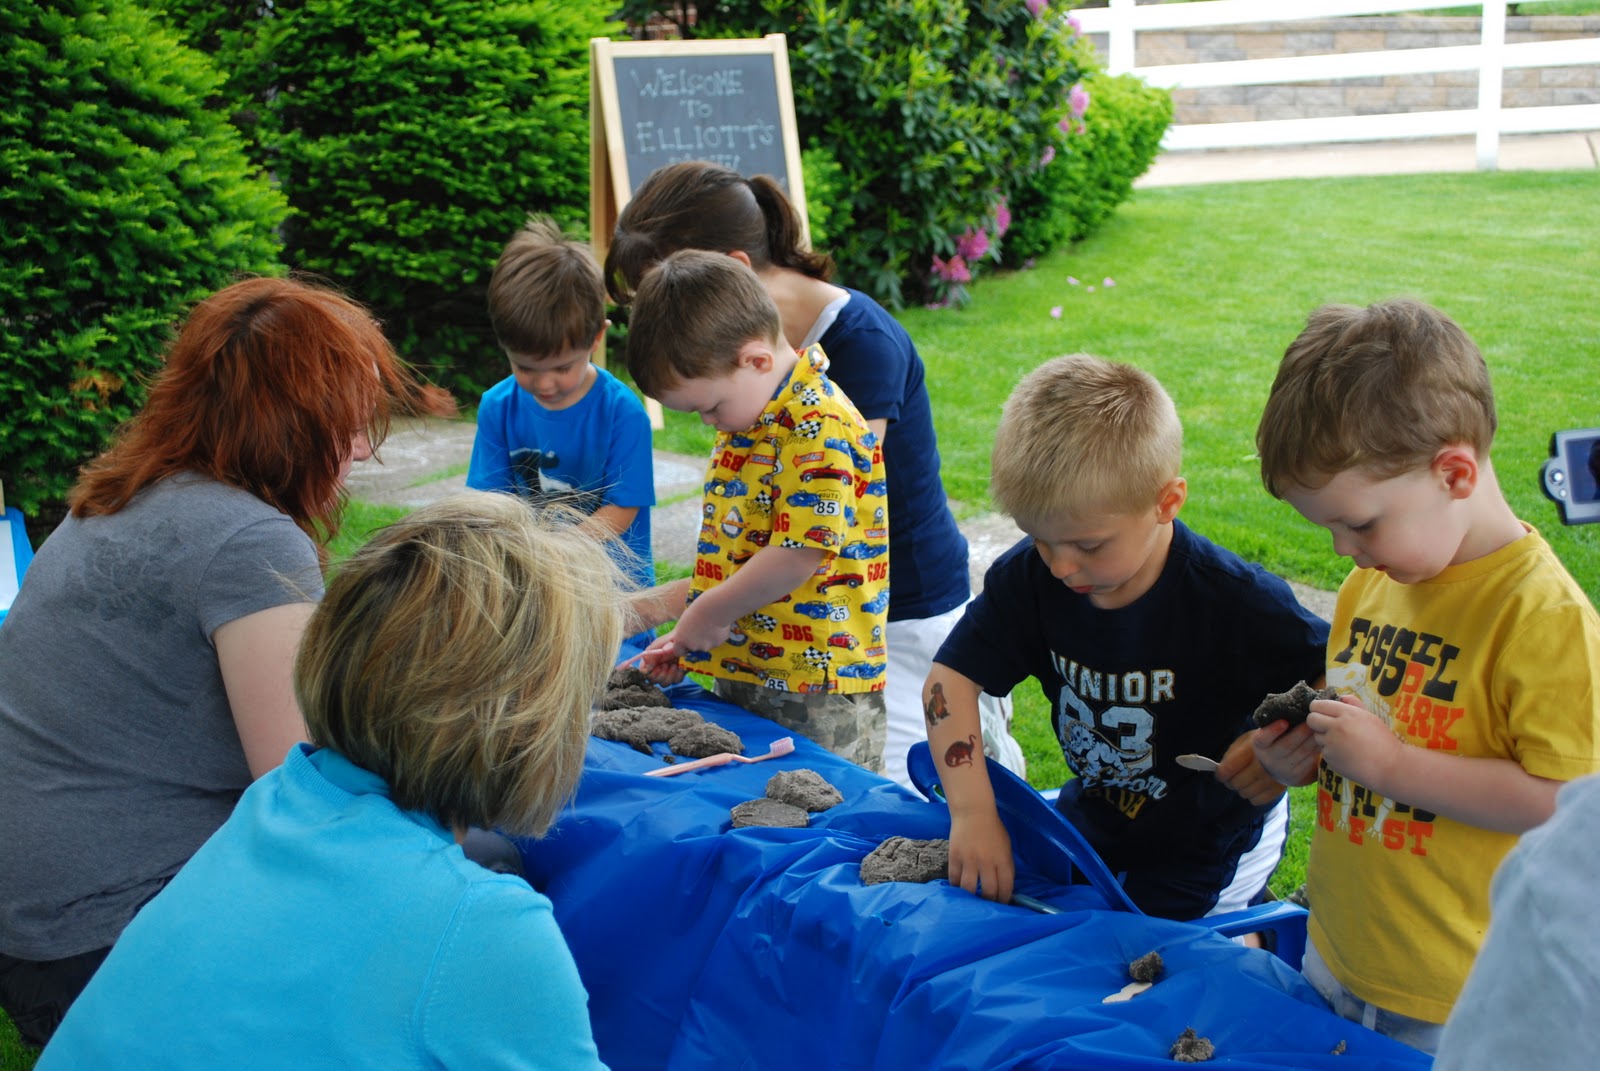
If only spending time at the repair shop was really this fun!
 You will need:
  • An empty milk jug, washed and dried
  • Glue
  • Construction paper
  • Pipe cleaners
  • Marker
  • Juice box straw
  • Any additional supplies you can think to use
  • Small people and cars for playtime
How to:
  1. Stand jug upright and using scissors or craft knife, cut a large opening on one side of the jug.
  2. Decorate jug in whatever style you want. (It doesn't have to be a Garage. You can make a house, a school, a doctor's office, etc.)

What we did:
  • Elliott and I decided to make our milk jug into a auto repair shop. We started our decorating by placing a gas and an air pump on the outside, using pipe cleaner hoses. (A small hole to poke the hose through worked best in keeping the hose attached.)
  • We made construction paper "shingles" for a roof, just to liven the jug up a bit.
  • The bottom of the jug had raised ridges, so I cut a piece of cardboard to lay flat on the bottom of the jug. Another piece of cardboard became the ramp.
  • 
    A Medieval Knight fixes cars when not slaying dragons.
    
  • An empty spool became the "lifter" for the cars that were being worked on. A roll of electrical tape became a tire.
  • We punched two holes in a piece of construction paper, punched a juice box straw into the jug and threaded the paper onto the straw. Instant sign to attract business.
  • We made a couple of signs for the inside of the shop.
Thoughts:
It was really fun to do all the planning together. Elliott was very particular about what went where. We used Elmer's glue, which doesn't adhere very well to plastic, but it only takes a minute to fix any pieces that occasionally fall off. The garage got a lot of play action for a month or so before I tossed it back in the recycle bin. Considering the cost of this was almost nil, very worth it!

Elliott's Evaluation:
I really liked this a lot! The best part of making it was getting to play with it after. I like putting my guys in it. We should make this again.

Sunday, February 20, 2011

Dinosaur Terrariums


You will need:

  • Small glass bowls
  • Rocks
  • Potting soil
  • Small plant
  • Plastic animals (We used the dinosaurs from our Treasure Stone craft.)
  • Twine (optional)
How to:
In a small bowl, place one layer of rocks (for drainage). Top with potting soil. Place small plant in soil. Decorate with a couple more rocks and plastic animals. Wrap twine around bowl.

Thoughts:
When planning Elliott's Dinosaur party, this was that one craft that I kept in the "maybe" pile. Elliott, however, had other plans. We. Were. Doing. This. Craft. What a hit! Every party-goer LOVED doing this. Who would've thought?

I really wanted to find some cacti plants for this, but cacti, in Pennsylvania, in the Spring don't mix. After weeks of looking, I finally found some at Home Depot for $7 each! Um, no thank you. Luckily, we had planted some Basil seeds that were going berserk in their pot, so I was able to transplant several smaller plants from that. Plus, does anything smell better than basil and potting soil? It was a win-win for me.

Our little terrarium sat on our deck table as a centerpiece all summer.

Elliott's Evaluation:
I loved this! I liked putting the rocks in. And the dinosaurs in. And I liked putting the plant in and the dirt in.

Saturday, February 12, 2011

Treasure Stones


Encourage your budding Paleontologist with these cool fossil stones!
 You will need:
  • 1 cup flour
  • 1 cup used coffee grounds (set out overnight to dry)
  • 1/2 cup salt
  • 1/4 cup sand
  • 3/4 cup water
  • Small toys (We used small, plastic dinosaurs.)
  • "Tools" to break open stones. (We used toothbrushes and wooden craft spoons.)
Recipe makes 4 stones.


How to:
  1. In a medium sized bowl, combine all the dry ingredients. Slowly add water, stirring until the mixture forms a dough.
  2. Roll a piece of the dough into a ball about the size of a baseball. Use your finger to bore a hole to the center, push in small toy, then seal hole back up with more dough.
  3. Repeat with remaining dough.
  4. Place stones on baking sheet and cook for 40 minutes at 170 degrees. Let cool before breaking open.

Assembly line of dinosaur hunters

Thoughts:
I found this craft in Family Fun magazine and it was one of the crafts from Elliott's 3rd birthday. (Dinosaur party.) I ended up making several batches of it because I wanted each child to have two stones to break open and because the dinosaur figures proved a bit difficult to cover with all their long tails and necks.


These were so easy and really fun to make. The recipe is perfect for young kids to help with. I was very nervous about putting plastic in the oven (!!!) and even did some searching on the Internet before I got the guts to do it. But, no problems. The temperature of the oven was actually so low, that the baking sheet probably could have been picked up without a pot holder. (But, DUH, don't try that!)


I stored the stones in plastic bags for about 2 weeks before the party and they held up well, but I do suggest a dry spot to store them. Humidity seemed to make them a tad moist. Besides looking pretty foul, (I think the party-goers thought they were digging through dino-poo.) the boys sort-of loved breaking them open. (Again, the poo look made them a bit wary.)

Really cool project!

Connor totally "dug" it!

Christian wouldn't touch it with his bare hands!


Elliott's Evaluation:
There were dinosaurs inside! They were kind of hard to open. We used toothbrushes to brush the dirt off our dinosaurs. I don't brush my teeth with that toothbrush. Do we still have those dinosaurs? Let's have another dinosaur party and do all those crafts again.


Saturday, February 5, 2011

Steeler Crafts!

Pittsburgh's going to the Superbowl!!!

It's all kinds of crazy madness here in the 'Burgh since the Steelers are making their 8th trip to the Superbowl, going for win #7! In honor of the big game, we've had a few friends over to do some Steeler crafts. Feel free to change it up to match your favorite team. (But we don't want to hear about it!!)

Craft 1:
Football Guys


You will need:
(Makes 4 guys)
  • Two pieces of yellow construction paper, cut in half
  • Two pieces of black construction paper, cut into 4 large ovals
  • Eight pieces of each color, cut into long strips, folded accordion style
  • Four "squar(ish)" shapes for faces (we used white and brown)
  • Four pieces brown construction paper cut into football shapes
  • Four pieces white paper cut into about 1 inch circles
  • Glue stick
  • Glitter glue (We used red, blue and yellow~colors from the Steeler logo.)

How to:
Check out the pictures to assemble the players. (You can't see it in the photos, but the footballs can be placed in the player's hand.)Let your kids use their imaginations. I love that our friend Mallory placed her player's faces at the top of their helmets! Older kids could write their favorite player's number, but we just let the kids go crazy with the glitter glue. (One of Elliott's players has a big red blob on his head that looks like blood. I hope that isn't an omen!)

Thoughts:
I'm not a huge fan of  "assembly" projects, but I wanted to try to keep our crafts a little simple. Not a ton of room for creativity here, but we were just going for fun. Both kids went crazy for the glitter glue. They only stopped after we went through 6 tubes of it. While we probably wouldn't do something like this again, the football guys are awful cute.

Elliott's Evaluation:
This is boring. The glitter glue is fun! It's really glitter!!

Mallory's Musings:
Glitter glue!! I like glue!

*********************************************************************************

Craft 2:
Foam Fingers


You will need:
(Makes two foam fingers)
  • 6 pieces yellow craft foam, cut in half
  • Marker
  • Stapler
  • Stickers

How to:
  1. Have an adult make the "#1" sign with their hand and trace around it on the foam. You want it to be large, so it doesn't have to be exact. Cut 12 of the hand shapes out of the foam.
  2. Stack six of the hand shapes together and staple around all the edges of the foam EXCEPT the bottom, where the hand will slip in. Repeat with second stack.
  3. Decorate with stickers.
  4. Slip on hands and paint your chest in team colors!
Thoughts:
Pretty lame. For the record, regular glue does not work on craft foam. The lady at JoAnn's told me it wouldn't, but after owning Elmer's glue, fabric glue, ModPodge, Craft glue, glow-in-the-dark glue, Super glue, felt glue, glue sticks and Gooey glue, I felt I had to put my foot down somewhere. Staples, on the other hand, work just fine. Neither kid wanted anything to do with their foam fingers.

Elliott's Evaluation:
I liked putting the stickers on.

Mallory's Musings:
It was good. I liked putting the stickers on.

**********************************************************************************

Craft 3:
Steel City Hard Hats


You will need:
  • Plastic yellow construction hats (I found some at a party supply store for 70 cents each.)
  • Stickers

How to:
Uh, really? You need directions on this?

Thoughts:
Very, very easy way to pass some time. Elliott and his friend Christian both enjoyed putting stickers on their hats.

Elliott's Evaluation:
I like putting stickers on it. (Starts to sing) "We're from the town with the great football team. bah bah bah bah We cheer the Pittsburgh Steelers. Winning's a habit, not only a dream. bah bah bah bah Go out and get them Steelers!"

Christian's Creed:
Tracy!! I'm still putting on stickers! I'm not finished yet!


Happy crafting and Go Steelers!


Saturday, January 29, 2011

Litter Bug


This cute fellow can come right out of your recycle bin.


You will need:
Raid your recycle bin and use your imagination! We used newspapers, straws, a bottle cap, a jar lid, and a paper hole punch from our hole puncher.
Also, have handy: yarn or string, googly eyes, marker and glue.

How to:
The key to this craft is using your imagination to make your litter bug look however you want it to look. We started by balling up the newspaper and securing it with string. Straws became legs, caps became hats, more yarn became hair.

Attach googly eyes a nose and a smile and you are set.

Thoughts:
What better way to teach about recycling than to show a child how to reuse something? I took the opportunity to teach Elliott a bit about caring for the Earth and explaining the concept of "Litterbug" to him. (Thank you Wall-e, as well!!) That came back to me when, a few days after doing this craft, we were walking into the grocery store behind some rather, er, tough looking characters who threw some trash on the ground. Elliott, having witnessed this pronounced loudly, to anyone within hearing distance (including said offenders), "Mommy, they're Litterbugs! Litterbugs!!!!" 

Yay, him. Boo, them. I have actually seen Elliott pick up trash off the ground and throw it away. Ironically, he has no problem throwing it on the floor in our house.

Almost a year later, and this little guy still gets some playing time.

Elliott's Edict:
We still have it. I liked putting the straws on it. And the smile. And the googly eyes. And the two hats. Two! That was a good craft.

Monday, January 17, 2011

Craptastic Yarn Bowl

Craptastic Bowl


You will need:
  • Newspaper
  • Yarn
  • 2 small bowls
  • Glue, glue and more glue
  • Inflated balloon
How to:
  1. Lay newspaper over work surface. This will get messy! Place balloon in small bowl to keep it from moving.
  2. Cut strips of yarn and soak in other small bowl filled with glue.
  3. Remove one piece of yarn at a time, squeezing excess back into bowl. Drape yarn over top of balloon. Continue draping yarn over balloon, layering pieces over each other. Leave the top of the balloon clear. (The section that is sitting in the bowl.)
  4. Let dry. (Overnight) Once dry, pop the balloon and remove from bowl.
Thoughts:
Oh. My. Goodness. Hands down~Craptastic Craft of the Year! Can I just say that this is the second time I've tried this, both with horrible results? Every time I see this craft in a book or magazine I want to do it sooooo bad because it looks soooo cool. So not. The first time E and I did this (was for me, I'll admit it) he was just too young. So we tried again a year or so later. This time, still not a hit, still bad results. Elliott couldn't figure out the whole squeezing the glue out thing so I took over that, thinking he would at least like draping it over the balloon. Yeah, not so much. He was way more interested in playing with his Artoo-Potatoo Potato Head while he watched me. (With warnings not to get the glue too close to R2!) So I took over the whole project. Yay, me! OK, fun to do, but the results...not so fun.

Way more interested in that Potato Head

Elliott was most interested in popping the balloon. Our bowl was floppy and weak. The yarn just didn't get stiff enough. Was stingy me doing a little too much squeezing off the excess glue? The finished, um, bowl was a disappointment and was promptly thrown away.

Elliott's Evaluation:
Note from Mom: I would like to preface Elliott's thoughts by stating Elliott did not like doing this craft at all. However, his words:
I liked making it. Do we still have it? We should make it again. I liked taking that balloon out.

Monday, January 10, 2011

Robot Sculptures

Rummage through the tool box for parts for clay sculptures.


You will need:
  • 2/3 cup salt
  • 1/3 cup baking soda
  • 1/2 cup cornstarch
  • Decorative embellishments and small hardware (we used nuts, bolts, screws, caps, etc.)
  • Waxed paper lined cookie sheet for drying
Other ideas: sequins, googly eyes, pop-tops, bottle caps, hooks, etc.

How to:
  1. In a small saucepan, mix the salt and baking soda with 1/3 cup of water and bring to a boil.
  2. In a small bowl, mix the cornstarch and 1/4 cup of water. Stir well.
  3. Remove salt mixture from heat and add the cornstarch mixture. Stir vigorously for a minute or two to thicken clay. Spoon onto waxed paper and allow to cool before working with it.
  4. Shape clay into desired shapes and add embellishments for features. Use your imagination to figure out what each piece can turn into. (Screws with flat heads make great legs and will allow your figure to stand. Nails for eyes? Picture brackets for arms? A nut and bolt for a top hat? You decide!) Ours started out to be snowmen, but eventually we decided they looked more like robots.
  5. Once your sculpture is finished, set on waxed paper and let dry. (Takes about two days to dry completely.)
Thoughts:
This was so easy to make...the first time. We have tried to make these a couple of times since and have had bad luck. Both times, even though I followed the directions exactly, the mixture came out too runny. I don't know what to say about it, because I cannot figure out why it worked so well the first time but none since.

Anyway, give it a try and see if you have better luck or if you can figure out the solution. This really is pretty cool. The figures held up very well until they got stored in Elliott's action figures box. Now they are missing a few parts. But other than that, they are pretty sturdy and get lots of play.


Elliott's Evaluation:
We still have them. They are in my action figures box. I liked going through all the tools. The legs are screws. The eyes are bolts. I like taking the top bolts off of Mommy's  robot's head.