Pages

Monday, March 28, 2011

Rock Man

Make this cute Rocker!

You will need:
  • Rocks of different shapes and sizes
  • Tacky craft glue
  • Paint
  • Googly eyes
  • Pipe cleaners, feathers, yarn, etc. (Use your imagination!)

How to:
Make sure your rocks are clean and dry. Paint rocks and let dry.

Assemble rock man as desired and use glue to attach. (We used Superglue and it only lasted a few days. I think a really tacky glue or glue gun will work better.)

Embellish rock man with googly eyes, feathers, etc. We used a feather for his hair, googly eyes and two shades of blue pipe cleaners twisted together for his arms and legs.

Thoughts:
Awww. I forgot how cute Rock Man was. (He fell apart fairly quickly after we finished him. Guess SuperGlue isn't all that super on rocks.) Elliott was so proud of his finished sculpture!


Elliott's Evaluation:
Good. I liked it.
(Me: Can you give me anything else?)
I liked it!
(Me, with a raised eyebrow: ...and...)
I liked putting the feather on.
(Me: Anything else?)
Mom, I'm trying to play Wii!! Look at Chewbacca with a Storm Trooper helmet on!
(Me: no reaction)
Mom! Look at Chewbacca!
(Me: No, if you can't take a moment for this, I can't look at your game.)
Mom! I really liked it. I liked stacking the rocks. I like him. Can you look at Chewbacca now?
(Me: Mmm, hmm. Chewbacca has on a Storm Trooper's helmet. That's really funny. Sigh.)

Sunday, March 20, 2011

Marble Paper

Make your own beautiful stationary and a spectacular mess.
You will need:
  • Foaming shaving cream
  • Food color
  • Several sheets of plain white card stock (Other colors work, but the images show best on white.)
  • Toothpick or straw
  • Large cooking sheet
  • Several paper towels

How to:
  1. Go outside!! Do NOT attempt this indoors. You will regret it.
  2. Spread a layer of shaving cream over cooking sheet. Add drops of food color. Swirl colors with toothpick or straw. (Try both to see what each does!)
  3. Lay paper on top of shaving cream and press lightly, but firmly enough to ensure entire paper touches cream. Lift and rub excess shaving cream off with paper towels. Let dry.

Thoughts:
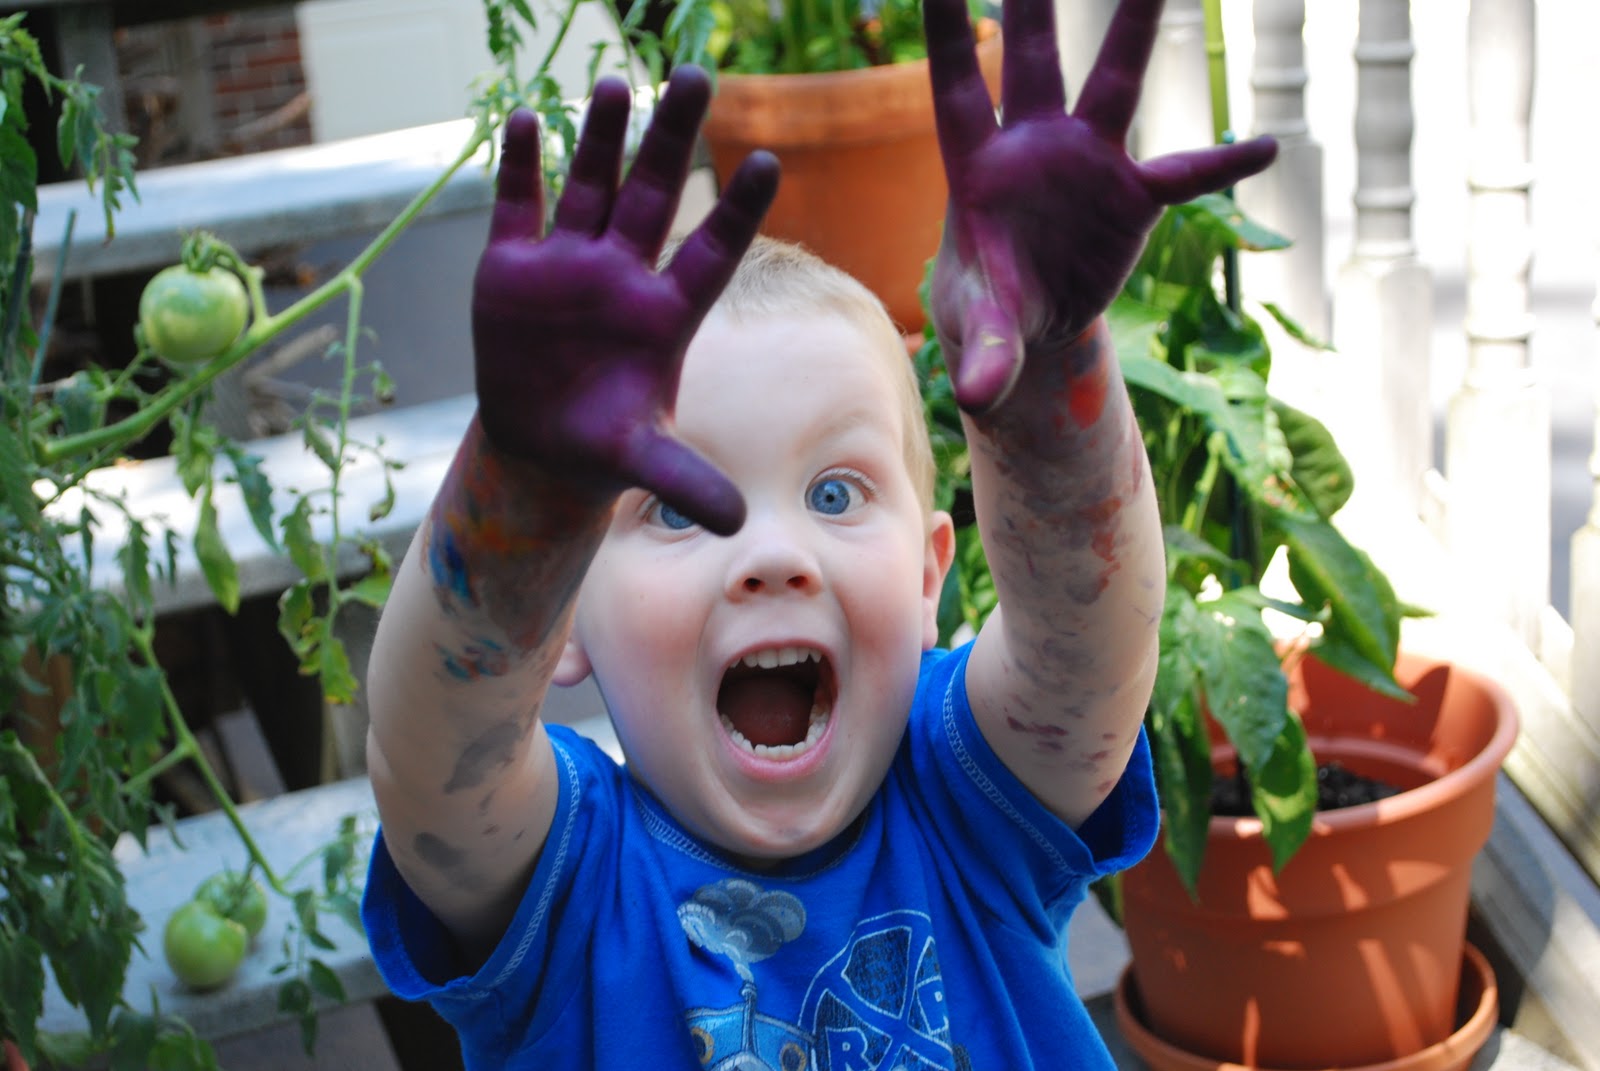
Hands down: this is by far the messiest craft we have ever done! But sometimes, you gotta get messy, right? Elliott loooved making this paper. I kept running inside to grab more blank sheets so he could do it again and again. He loved spraying the shaving cream, adding the food coloring, swirling...everything! And when you're finished you have pretty paper to do...absolutely nothing with. But that's OK, this craft was a HUGE hit!


Hints for parents:
A glass of wine before starting this project will help tremendously.


Elliott's Evaluation:
Messy!!!! I liked making it because it was messy and because I needed to use my hands for it.


Relax! It fades after a day.


Wednesday, March 16, 2011

Leprechaun Trap 2011

This year's version of the Leprechaun Trap

Since last year's Leprechaun Trap (http://craptasticcrafts.blogspot.com/2010/06/leprechaun-trap.html) was so much fun we decided to do it again this year!

You will need:
  • Empty tissue box (Again, good thing St. Patrick's Day comes during cold season!)
  • Green paint (plus other colors, if desired)
  • Flat piece of cardboard for base. (We used a portion from a cereal box.)
  • Rocks
  • Gold glitter paint
  • St. Patrick's Day stickers
  • Cotton balls
  • Pipe Cleaners in all the colors of the rainbow
  • Glue gun
How to:
  1. If using a base, paint and let dry. Paint tissue box and let dry. Paint box with additional colors, if desired.
  2. 
  3. Paint rocks and then cover with glitter glue. Let dry.
  4. Elliott loooved painting glitter glue on the rocks.
  5. Decorate box with stickers.
  6. Cut pipe cleaners to desired size and curve into a rainbow arch. Wrap each end of rainbow with pipe cleaner to secure.
  7. Stretch out cotton balls as much as possible without tearing. (We used four balls for each cloud.)
  8. Glue ends of rainbows into each cloud, using glue gun to secure.
  9. 
  10. Glue rainbow and clouds over the hole on the top of the box.
  11. 
    I love that Elliott came up with the idea to cover the hole of the trap all on his own.
  12. Glue glitter rocks on to trap.
Recap on story:
Leprechauns are very sly little guys and it's hard to catch them. But if you do, they HAVE to take you to the end of a rainbow where you will be rewarded a pot of gold. If you don't catch them (most likely), but they are impressed with your attempt, they may leave you a treat. (As well as play tricks on you!)


Thoughts:
Ahhh, glitter glue. Just when I thought I had lost Elliott to the Wii, glitter glue brings him right back. E had no desire to paint the box or base green, but after glittering up the rocks, he decided to paint some other colors onto the box, hence the dripping blood look. He was really into placing the stickers on and insisted on going through the whole sheet. (So much for saving some for next year!)

My favorite part? On his own, Elliott came up with the idea to place the rainbow and clouds over the hole so that the leprechaun wouldn't see the hole and would, hopefully, fall in. That's using your noggin, Kid!

Elliott's Evaluation:
I love glitter glue! I really liked painting the rocks. Putting stickers on the trap is fun. I think we are going to trap a leprechaun but I hope he doesn't get scared if he falls in the hole. Maybe we should put a light in there for him....can we do that?

Monday, March 14, 2011

Tissue Rainbow


You will need:
  • Tissue paper in all the colors of the rainbow, cut into small squares (about 1 inch by 1 inch)
  • Sturdy piece of card stock or cardboard, cut into rainbow shape
  • Glue
Optional (if making a pot of gold):
  • One piece black construction paper, cut into shape of a pot
  • Gold stickers or gold paper cut into circles
How to:
  1. Sort tissue paper by color. Ball up each piece into tiny wad.
  2. Working through each layer, glue pieces on to make colors of the rainbow.
  3. Glue gold stickers or paper onto black pot and glue onto end of rainbow.
Thoughts:
Elliott seemed a bit bored while we were doing this, and yet he remained at the table the whole time to keep working at it, so I'm not sure what to make of it. He claims he enjoyed it, so that's good enough for me. While working on each color, I would quiz him on animals or food that might be that color. (His answer every time? "Gummy fish." True enough, I guess.) The finished rainbow is a bright pop of organic color during our dreary winter weather.


Have I mentioned to anyone that my sister's least favorite saying is anything that "pops organically"? That one's for you, Michelle.


I really do love seeing the bright colors first thing every morning.

Elliott's Evaluation:
This was fun! I liked putting all the paper on. Mommy couldn't ball it up fast enough so I had to wait on her. I don't want to pose for a picture with it today. Maybe tomorrow.

Monday, March 7, 2011

Fireworks Hat


Homemade hats for the 4th of July
You will need:
  • Red, white and blue rolls of duct tape
  • Flexible straws (about 35 per hat)
  • Pipe cleaners (red, white and blue)
  • Star garland, cut into 6 inch lengths (We found ours at the Dollar store)
  • Tape measure

How to:
  1. Measure the circumference of child's head. Cut a piece of blue duct tape to this length plus 2 inches. Lay tape sticky side up. Place straws on tape, placing so that flexible part of straw is at top edge of tape. Make sure to leave four inches of blank tape on each end.
  2. 
    Lining up the second piece of tape. (A bit too hard for youngsters to do on their own)
    
  3. Cut a second piece of blue tape, the same length as the first, and place it sticky side down to form a "sandwich" for the straws. Try to make sure there are no exposed bits of tape. (It's tough on hair!)
  4. 
    Layer pieces for tri-color headband.
    
  5. Cut a piece of red duct tape the same length as blue and fold it over the bottom edge of the blue piece. Repeat with white duct tape to create a tri-colored headband.
  6. Fit headband to child's head and tape together to form a circle. (Be sure not to make it too tight! It should easily fit over child's head, but not be so loose that it falls in their eyes.)
  7. 
    Fancy pieces lure the boys back over.
    
  8. Slide curled pipe cleaners and garland into the straws. Fan out straws if desired.
  9. Wow your neighbors with your fancy new hat!
Thoughts:
OK, can I say how flippin' cool this hat looks? I wanted one for myself! Lining up the tape was an adult's job, which was good because neither Elliott or Jack had any desire to help us out. In fact, they both abandoned us to go play with toys after a couple of minutes.

And we've lost them.
The crazy garland and curly pipe cleaners lured them back and they both enjoyed putting the pieces into the straws.

The finished products were so cute! However, an exposed piece of tape pulled Jack's hair. That, and the fact that his was just a tad too tight made him leery of putting it back on. Elliott decided monkey see, monkey do and even though his fit fine, announced his was too tight as well. I was able to get him to wear it to a couple of 4th of July picnics later in the week.


Elliott's Evaluation:
I remember making them. But, Jack didn't like it. His hat was too tight. Mine was a little tight, too.

Monday, February 28, 2011

Milk Jug Garage


If only spending time at the repair shop was really this fun!
 You will need:
  • An empty milk jug, washed and dried
  • Glue
  • Construction paper
  • Pipe cleaners
  • Marker
  • Juice box straw
  • Any additional supplies you can think to use
  • Small people and cars for playtime
How to:
  1. Stand jug upright and using scissors or craft knife, cut a large opening on one side of the jug.
  2. Decorate jug in whatever style you want. (It doesn't have to be a Garage. You can make a house, a school, a doctor's office, etc.)

What we did:
  • Elliott and I decided to make our milk jug into a auto repair shop. We started our decorating by placing a gas and an air pump on the outside, using pipe cleaner hoses. (A small hole to poke the hose through worked best in keeping the hose attached.)
  • We made construction paper "shingles" for a roof, just to liven the jug up a bit.
  • The bottom of the jug had raised ridges, so I cut a piece of cardboard to lay flat on the bottom of the jug. Another piece of cardboard became the ramp.
  • 
    A Medieval Knight fixes cars when not slaying dragons.
    
  • An empty spool became the "lifter" for the cars that were being worked on. A roll of electrical tape became a tire.
  • We punched two holes in a piece of construction paper, punched a juice box straw into the jug and threaded the paper onto the straw. Instant sign to attract business.
  • We made a couple of signs for the inside of the shop.
Thoughts:
It was really fun to do all the planning together. Elliott was very particular about what went where. We used Elmer's glue, which doesn't adhere very well to plastic, but it only takes a minute to fix any pieces that occasionally fall off. The garage got a lot of play action for a month or so before I tossed it back in the recycle bin. Considering the cost of this was almost nil, very worth it!

Elliott's Evaluation:
I really liked this a lot! The best part of making it was getting to play with it after. I like putting my guys in it. We should make this again.

Sunday, February 20, 2011

Dinosaur Terrariums


You will need:

  • Small glass bowls
  • Rocks
  • Potting soil
  • Small plant
  • Plastic animals (We used the dinosaurs from our Treasure Stone craft.)
  • Twine (optional)
How to:
In a small bowl, place one layer of rocks (for drainage). Top with potting soil. Place small plant in soil. Decorate with a couple more rocks and plastic animals. Wrap twine around bowl.

Thoughts:
When planning Elliott's Dinosaur party, this was that one craft that I kept in the "maybe" pile. Elliott, however, had other plans. We. Were. Doing. This. Craft. What a hit! Every party-goer LOVED doing this. Who would've thought?

I really wanted to find some cacti plants for this, but cacti, in Pennsylvania, in the Spring don't mix. After weeks of looking, I finally found some at Home Depot for $7 each! Um, no thank you. Luckily, we had planted some Basil seeds that were going berserk in their pot, so I was able to transplant several smaller plants from that. Plus, does anything smell better than basil and potting soil? It was a win-win for me.

Our little terrarium sat on our deck table as a centerpiece all summer.

Elliott's Evaluation:
I loved this! I liked putting the rocks in. And the dinosaurs in. And I liked putting the plant in and the dirt in.